

Ice and Water Shield: What It Is and Why Roofers Use It
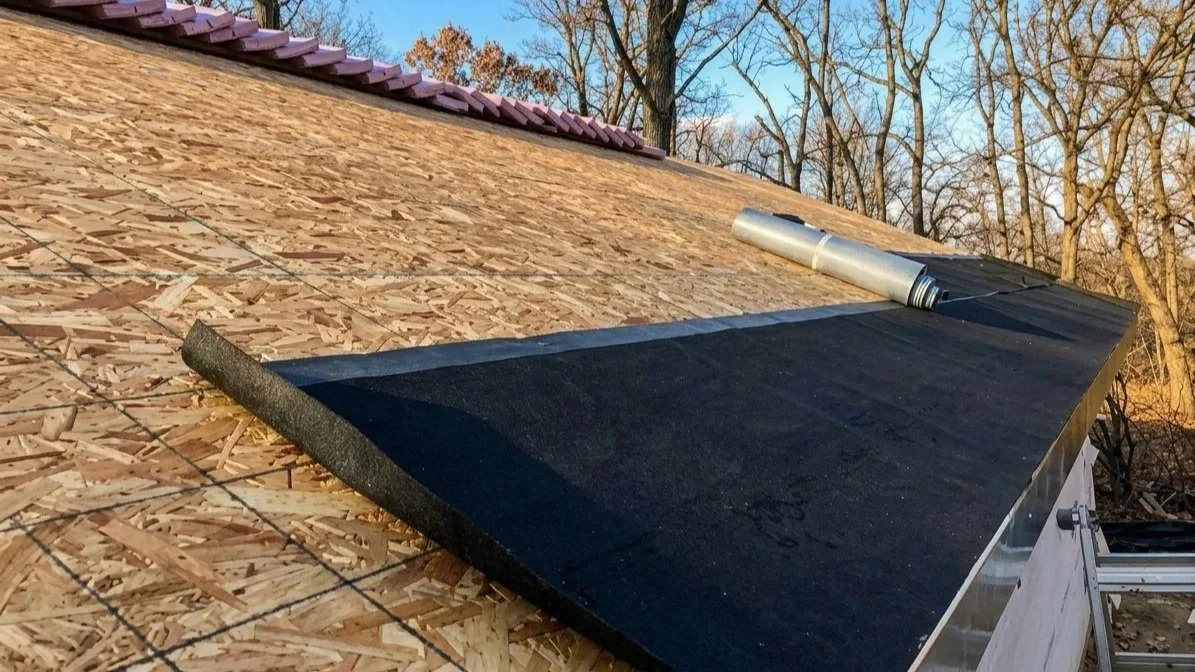
Ice and water shield being prepared to be installed
If you’ve ever had a roof leak after a big snowstorm or heavy rain, you know how frustrating water damage can be. Ice and water shield can help with that. It's a roofing material that most homeowners don’t see but every roofer swears by.
So, what exactly is it, and why is it so important for roofs in Maryland, where winters can bring ice, snow, and freezing rain.
In short: Ice and water shield is a protective underlayment installed beneath your roof’s shingles. It acts like a waterproof barrier that seals around nails and protects against leaks caused by wind-driven rain, melting snow, or ice dams.
Roofers use it to safeguard vulnerable areas like roof valleys, eaves, and flashing zones. Basically, anywhere water tends to collect or sneak through should have one. Let's find out more.
What Is Ice and Water Shield Made Of?
Ice and water shield is a self-sticking membrane made from rubberized asphalt and a strong polymer film on top. The asphalt layer is sticky and flexible, allowing it to form a tight seal directly to the roof deck. The top surface provides a protective layer that resists tearing and sunlight exposure during installation.
When properly applied, it creates a watertight bond that helps prevent moisture from seeping through nail holes or under shingles. That's something that traditional felt paper just can’t do as effectively.
Why Roofers Use Ice and Water Shield
Professional roofers in Maryland install ice and water shields because it’s one of the best defenses against weather elements. Here’s why it’s a must-have:
1. Stops Ice Dam Leaks
In cold weather, snow on your roof can melt and refreeze near the edges, forming ice dams. These dams push water backward under shingles, leading to leaks. An ice and water shield provides a watertight layer beneath those shingles, so even if water gets under them, it can’t reach your wood decking.
2. Protects Valleys and Flashings
Roof valleys and flashing areas (like around chimneys, vents, or skylights) take a beating from water runoff. The shield reinforces these weak points, preventing leaks that often start there.
3. Seals Around Nails and Fasteners
Because the material is rubberized, it forms a seal around nails when they’re driven in. This prevents the typical leak paths that occur with other underlayments over time.
4. Defends Against Wind-Driven Rain
Strong storms are common in Maryland, especially in late summer and early fall. Ice and water shield helps to keep rain from blowing under shingles or metal panels during high winds.
5. Adds a Layer of Insurance
Even the best shingle installation can fail if water finds its way under the surface. Ice and water shield adds that extra safety net that can save homeowners from expensive interior damage.
Where Roofers Install Ice and Water Shield
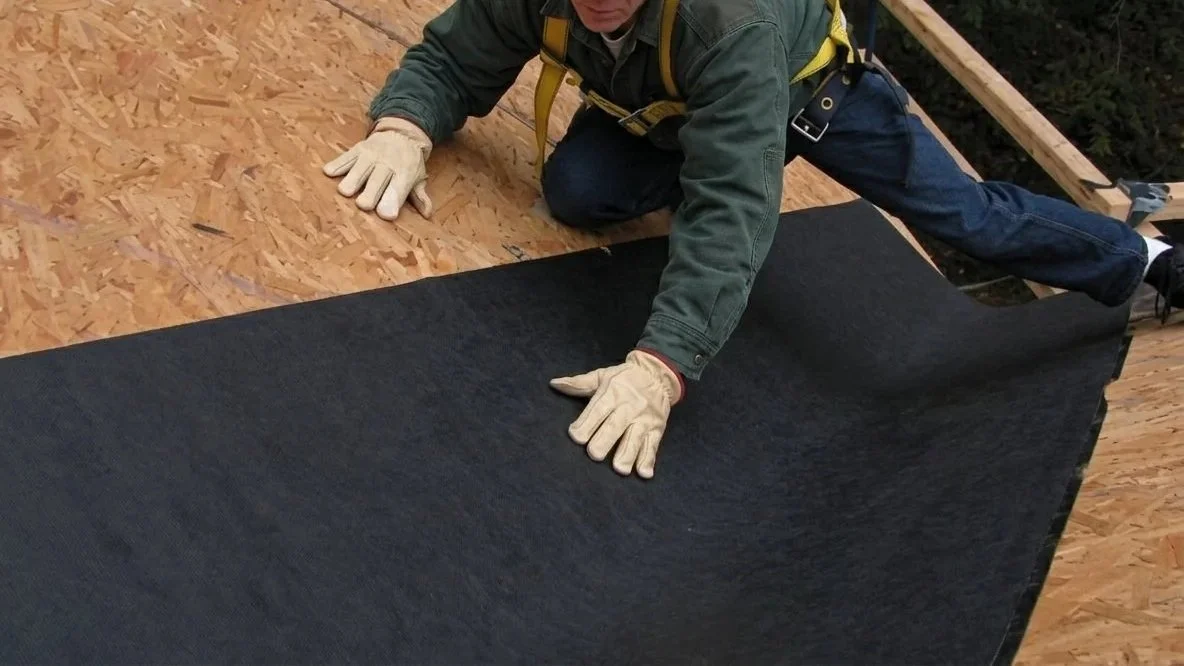
A roofer installing an ice and water shield in a valley of roof
Roofers don’t cover the entire roof with it unless it’s required for specific designs. Instead, they install it in key problem areas.
These areas include:
Along the roof eaves (bottom edges)
In valleys where two slopes meet
Around chimneys, vents, and skylights
Along rakes or steep edges
Under low-slope roofing sections
In regions like Maryland, most roofers recommend applying it at least two feet inside the warm wall line (the interior edge of the outer wall).
Types of Ice and Water Shield
Not all ice and water shields are the same. Roofers often choose from three main types depending on the roof type and slope:
1. Granular Surface Shield
Commonly used under shingles in roof valleys and along eaves. It’s textured to prevent shingles from sticking during installation.
2. Smooth Surface Shield
Often used under metal roofs or as an extra layer of waterproofing in low-slope areas.
3. High-Temperature Shield:
Specially made for metal roofs and areas exposed to higher heat levels. This version won’t melt or deform in hot weather.
How It’s Installed
Installing ice and water shield requires precision. Here’s how roofers usually do it:
Clean and prep the roof deck: The surface must be dry and free of debris.
Peel and stick: The backing is removed, and the membrane is pressed down flat to avoid wrinkles or bubbles.
Overlap edges: Each strip overlaps the previous one by about 3–6 inches to create a continuous seal.
Add shingles or panels: Once the underlayment is down, roofers can safely install the main roofing material.
It might look like a simple roll of material, but if installed incorrectly, it can cause more harm than good. That’s why you need a professional roofer, like Da' Roofers, to handle it.
Is Ice and Water Shield Required by Code?

A contractor holding a pen
In many places, yes, but not everywhere. Building codes in cold or mixed-climate zones often require it along eaves and valleys to prevent leaks from ice dams.
In Maryland, local building codes require ice and water shield in areas with ice-dam risk. The code calls for the barrier to extend from the eave edge to at least 24 inches inside the exterior wall line, rather than being tied to a specific roof slope.
Even where it’s not strictly required, most reputable roofers install it because it’s a small investment that protects against major water damage down the line.
How Long Does It Last?
When installed properly, ice and water shield can last 20 to 30 years, which is roughly the same as the standard lifespan of an asphalt shingle roof. It doesn’t need replacement unless the whole roof is being redone.
Bottom Line
Think of ice and water shield as the unseen hero beneath your shingles. You may never see it, but it’s always working. It seals around nails, blocks water intrusion, and gives your roof the additional protection it needs.
If you’re getting a new roof or repairing storm damage, ask your roofer about installing an ice and water shield in critical areas. It’s one of those simple upgrades that make a big difference in keeping your home dry and protected year-round.
FAQs
1. Do I need ice and water shield on my whole roof?
Usually not. Roofers typically apply it only on eaves, valleys, and around roof openings; the areas most vulnerable to leaks.
2. Can I install an ice and water shield myself?
It’s not recommended. The material is sticky and tricky to handle. Professional installation ensures it’s applied flat and sealed properly.
3. How is it different from regular underlayment?
Traditional underlayment like felt resists moisture but doesn’t seal around nails. Ice and water shield does, making it much more effective against leaks.
4. Does ice and water shield go under or over the drip edge?
In most cases, it goes under the drip edge at the eaves and over at the rakes to direct water off the roof properly.
5. Is it worth the cost?
Absolutely. It’s a relatively small upgrade that provides long-term leak protection and peace of mind.
