

What’s the Insurance Process to Replace a Storm-Damaged Roof?

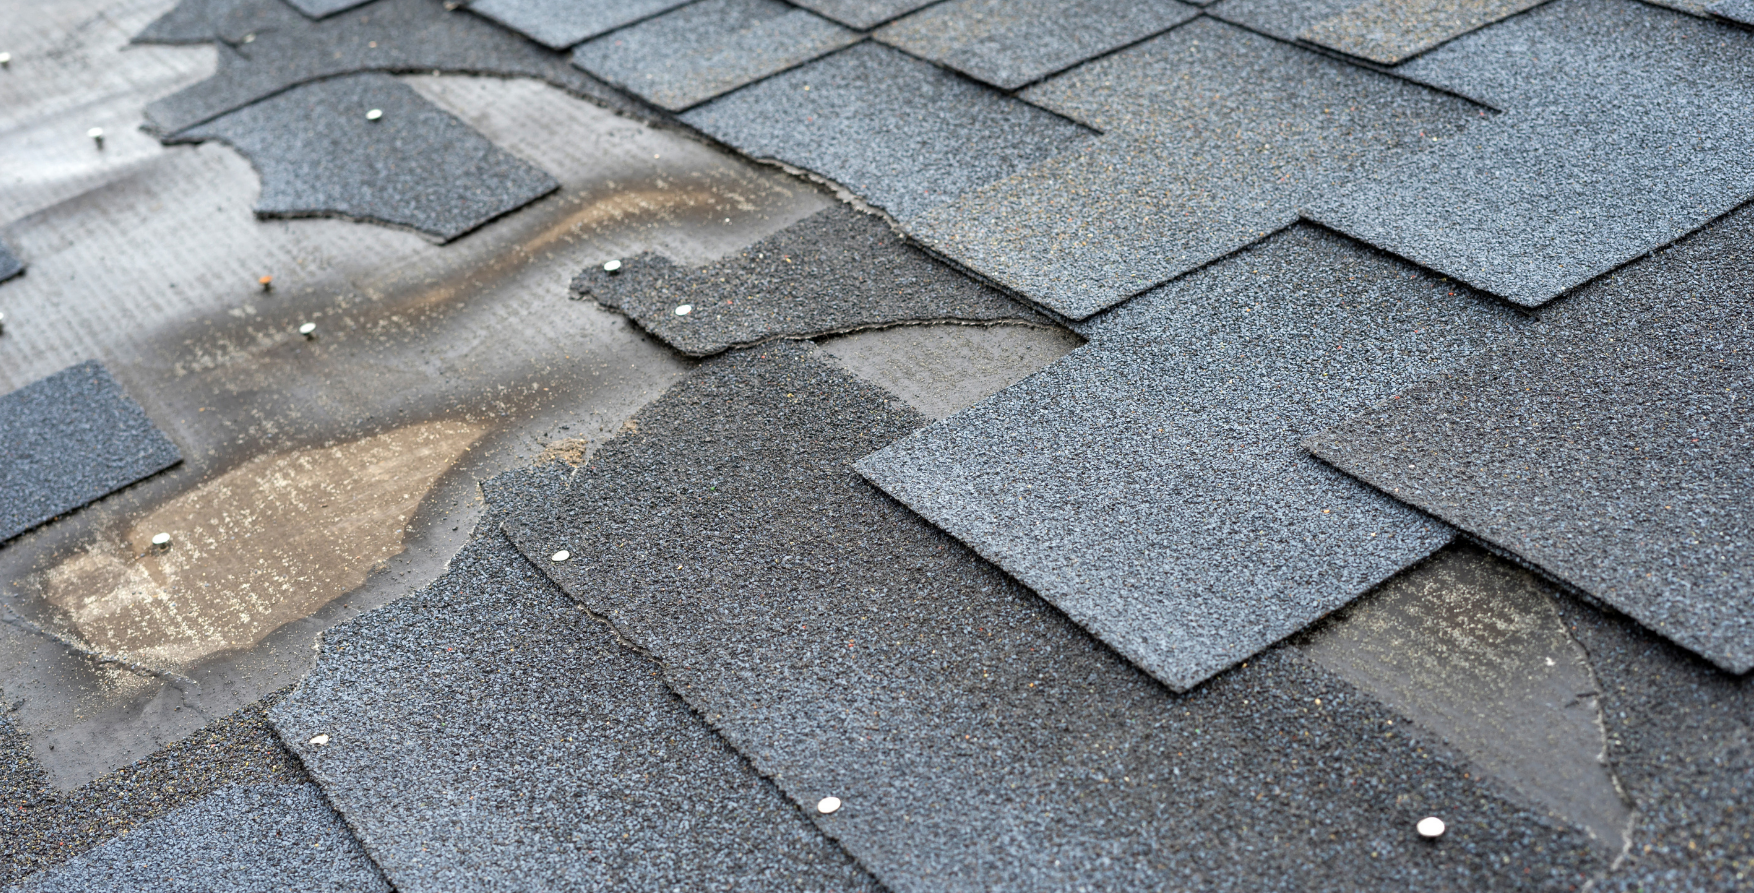
Roof damage caused by severe storm showing missing shingles
Was your roof damaged after a storm? Maybe you noticed a few missing shingles in your yard, or water stains creeping across your ceiling. When this happens, homeowners in the DMV often ask themselves: Will my insurance cover the roof repair or replacement?
That’s exactly what homeowners' insurance is for, but the process can feel overwhelming if you’ve never filed a claim before. Between policies, adjusters, and inspections, it’s easy to get lost or maybe feel taken advantage of. There are 8 steps involved in getting insurance to replace your roof:
Document the damage
Review your policy
Contact your insurance company
Get a roof inspection
Receive the insurance estimate
Supplement if necessary
Replace the roof
Final payout
To make things easier, let’s break down the insurance process to replace a storm-damaged roof, step by step, so you’ll know what to expect from start to finish.
Documented storm damage on residential roof with shingles removed.
Step 1: Document the Damage
The first thing you should do after a storm is safely check for signs of roof damage. Don’t climb on the roof yourself. Instead, walk around your property and look for obvious issues.
What to look for:
Missing or curled shingles
Shingles scattered on the ground
Dents in gutters or downspouts
Damage to siding, windows, or fences
Water stains on ceilings inside your home
Granules of asphalt coming out of the downspouts
If you see any of these signs, take clear photos or videos from the ground. These will help prove your case to the insurance company.
Step 2: Review Your Insurance Policy
Not all homeowners' insurance policies cover roof damage the same way. That's why it's good to know which policy you have. This is where terms like ACV and RCV come into play.
ACV (Actual Cash Value): The insurance company pays the depreciated value of your roof. That means you’ll likely need to pay a portion of the replacement out of your pocket.
RCV (Replacement Cost Value): This policy covers the cost of replacing your roof with a brand-new one, minus your deductible. You won't need to touch from your personal stash.
Checking your policy helps you understand what you can expect to receive before you even make the call.
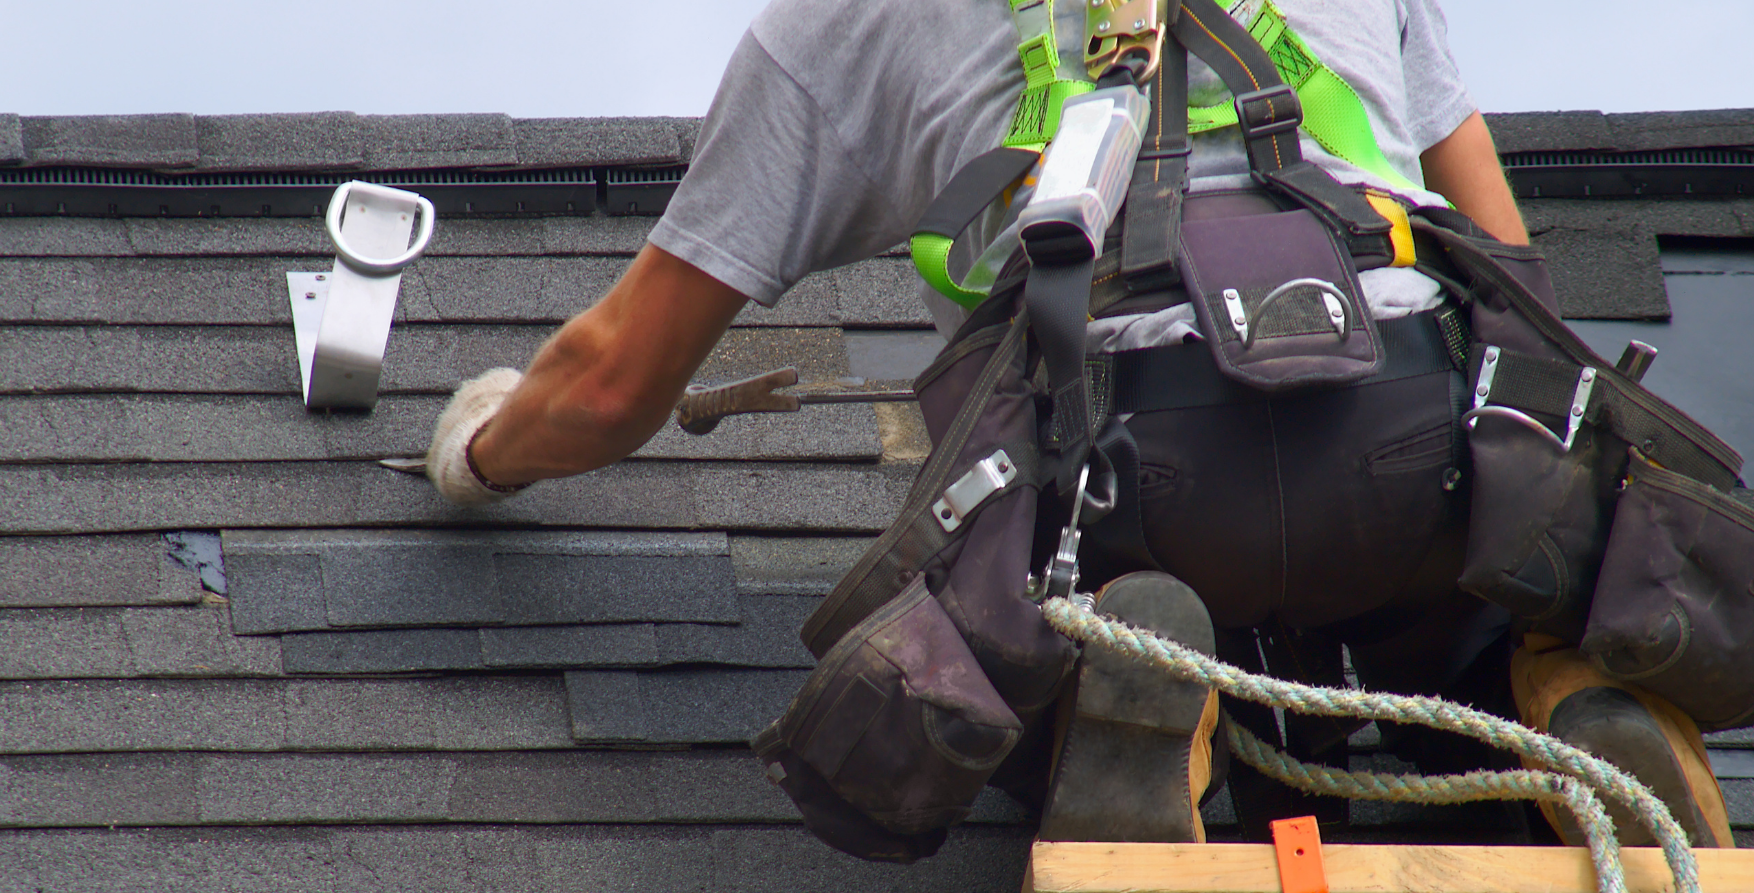
Professional roofer after a storm damage
Step 3: Get a Roof Inspection
The next best step is to get an inspection from your local roofing company to confirm the type of weather damage on your roof. Roofing contractors with experience in insurance know exactly what adjusters and inspectors will be looking for such as:
Missing shingles or lifted shingles from the wind
Granule loss or cracks from hail
Dents in flashing, vents, or metal
Signs of water intrusion
Step 4: Contact Your Insurance Company
Once you’ve reviewed your policy and documented the damage with your roofer, the next step is to call your insurance provider. They’ll explain the next steps and may assign an adjuster to visit your home. The insurance adjuster will then walk around the roof, and check for obvious signs of natural damage.
At this point, it’s smart to also have a trusted roofer on your side who knows how to spot storm damage, so the adjuster doesn't miss anything. Having your roofer present during the adjuster’s inspection also helps you advocate for the most out of your policy.
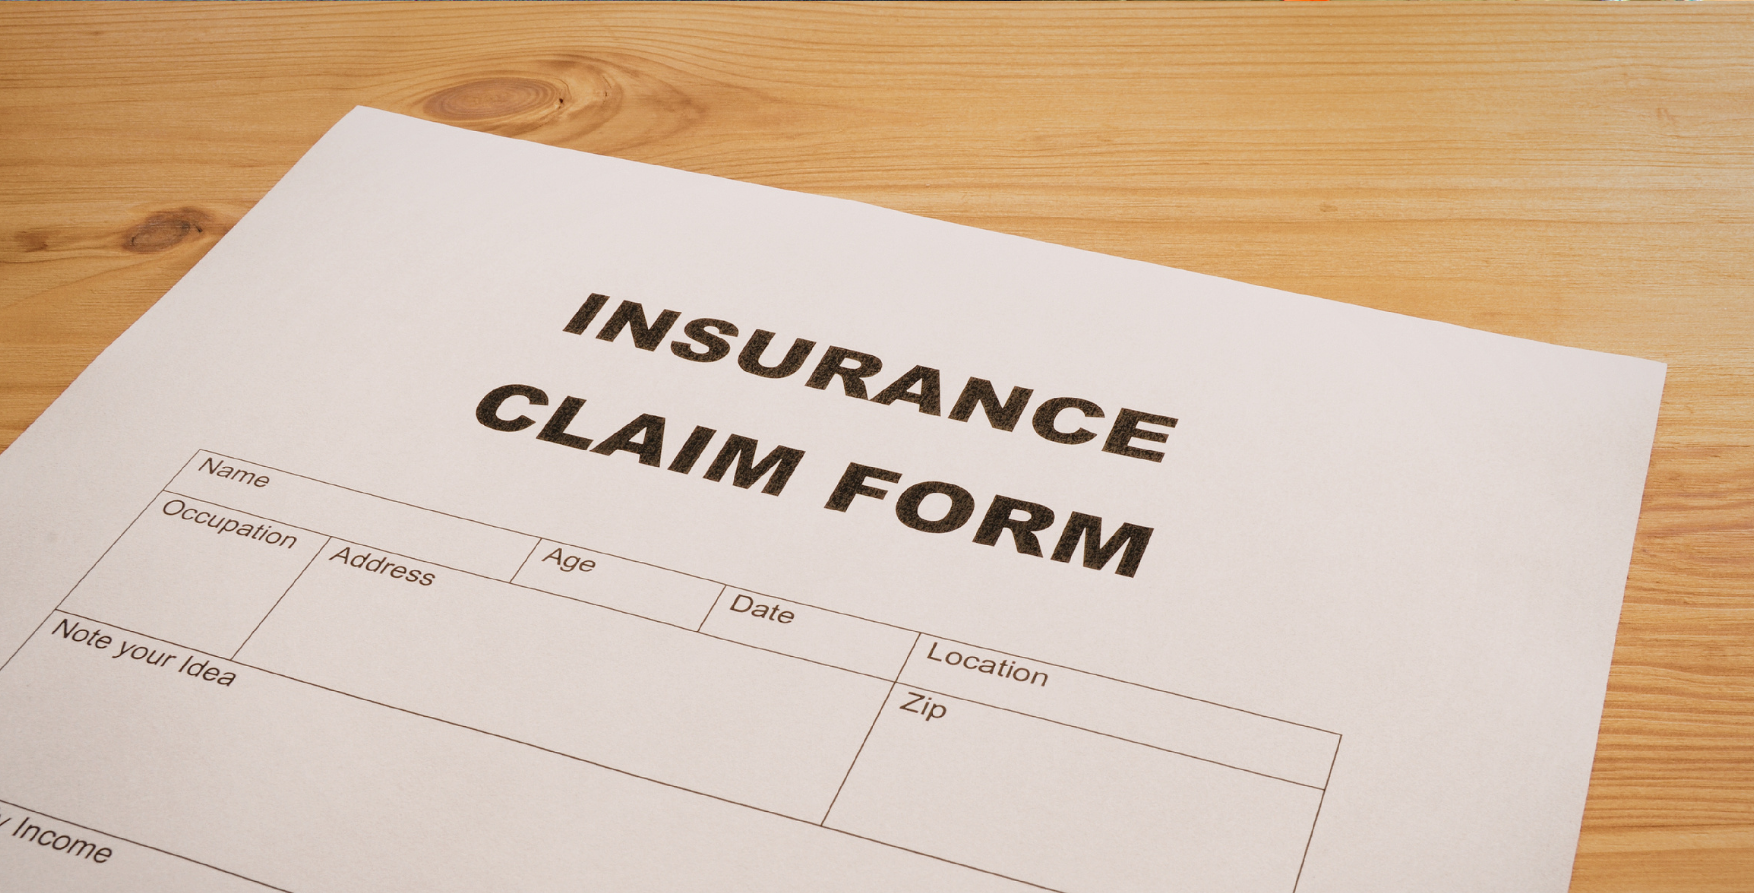
Roof insurance policy contact details
Step 5: Receive the Estimate
If your claim is approved after the inspection, the insurance company will provide an estimate for your roof replacement. This can go two ways:
With ACV policies, you’ll get a single check for the depreciated value of your roof. You’ll need to cover the rest of the cost yourself.
With RCV policies, you’ll first receive an initial check for the depreciated value. After the roof is replaced and proof is submitted, the insurance company will send a second check for the remaining amount.
This is another step where working with a reputable roofing contractor pays off. They’ll help you review the estimate and ensure it actually covers the materials and labor needed. The next step covers what happens if the estimate doesn't cover those costs.
Step 6: Supplement (If Needed)
Insurance estimates often leave out important line items like local building codes or certain materials. If that happens, your roofer may need to supplement the claim by sending corrections and proof back to the insurance company.
This step can feel frustrating, but it’s normal. A good roofing contractor knows how to push back so you don’t end up paying more than you should.
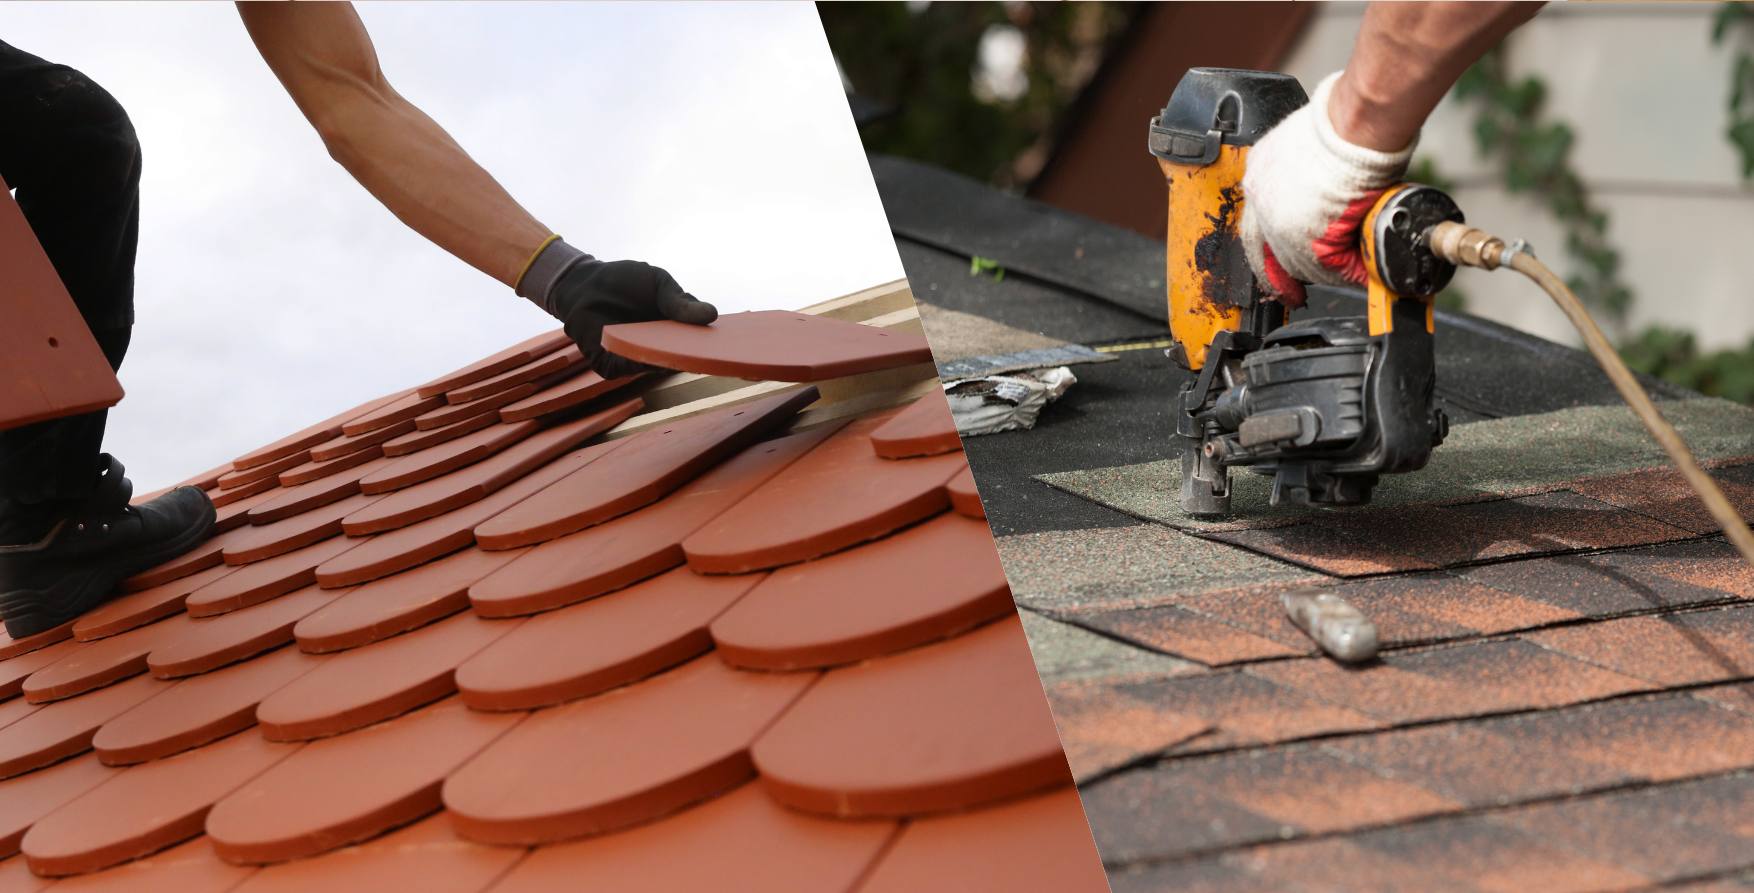
Roof repair VS Roof replacement
Step 7: Replace or repair the Roof
Once everything is approved, it’s time to move forward with your roof replacement or repair. Here's how it'll go
The roofer will complete the work using the approved scope.
You’ll pay your deductible (it's required by law).
Submit final documentation and photos to the insurance company.
For RCV policies, once the insurer confirms the work was done properly, they'll release the last payment for the recoverable depreciation.
Step 8: Final Payout
If you have an RCV policy, your roofing contractor will receive the final check once the work is verified. With an ACV policy, you’ll have already gotten your only payout and covered the rest out of pocket.
One important reminder: never let a contractor “cover your deductible.” That’s considered insurance fraud, and it could disqualify your coverage.
Final Thoughts
Replacing a roof through insurance doesn’t have to be stressful. By knowing the step-by-step process, from documenting the damage to getting the final payout, you’ll be better prepared and less likely to end up paying more than you should.
If you’re in the DMV and suspect storm damage to your roof, don’t wait. Call a trusted local roofing contractor like Da’ Roofers for a free inspection. The sooner you start the process, the sooner your home will be protected again.
FAQs
1. How do I prove storm damage to my roof for insurance?
Take photos of any signs you see, especially things like missing shingles, dents, or leaks. They’ll serve as evidence. Also, getting a professional roof inspection will help document your evidence by an expert. An adjuster will also document the damage and report it back to the insurance company.
2. What’s the difference between ACV and RCV roof insurance?
The two policy types are quite different. ACV pays the depreciated value of your roof. That means; what it's worth today, not how much you need to fix it. RCV, on the other hand, covers most or all of the cost of replacing it with a new one.
3. How long does the insurance process take for a roof claim?
The time it takes for the whole insurance process varies. If the storm damage is widespread, it can take months, since so many homes will be affected and need repair. Smaller claims, however, may be processed in just a few weeks.