

Roof Inspection and Preparation: The First Step to a Strong Roof in the DMV

DMV Professional roof inspection for damage and wear
Before the crew installs a single shingle, Da’ Roofers start every DMV roof replacement with the most important step: a full roof inspection and proper preparation. This is the part most homeowners never see, but it’s the foundation of a strong, long-lasting roofing system. There are several areas we check during a roof inspection:
Roof Deck Condition
Flashing Around Openings
Ventilation Issues
Number of Old Roof Layers
Structural Signs
Skip this step, and issues get covered up. Do it right, and the rest of the installation becomes smooth, clean, and built to last decades. Let's get started.
Why Inspection Comes First
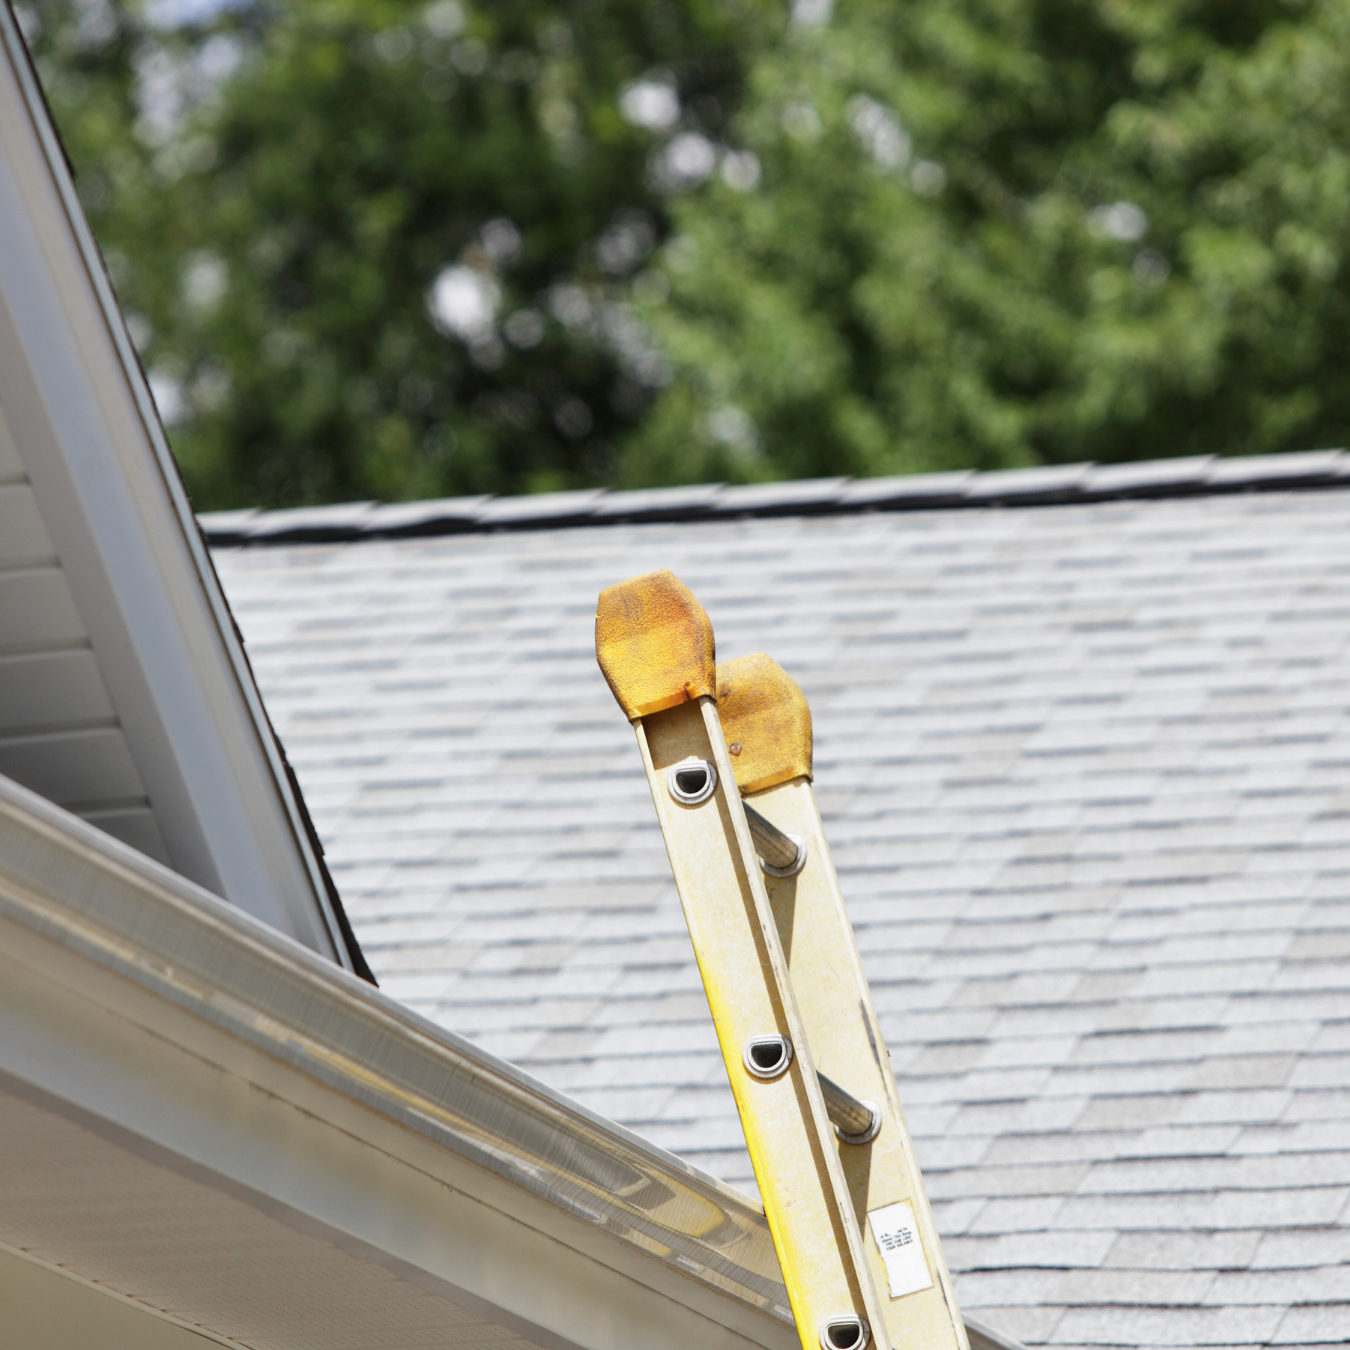
Roofing contractor's ladder to inspect residential roof in DMV
DMV weather is unpredictable: humid summers, sudden storms, heavy winds, and freezing winters. Those conditions can wear down the structure beneath your old shingles. That’s why Da’ Roofers never assume the deck or flashing is in good shape. We inspect everything under the surface to make sure the roof is ready for new materials. A detailed inspection helps:
Catch hidden damage early
Prevent leaks after installation
Confirm the roof deck is strong enough
Identify failing flashing
Ensure proper ventilation
Protect your manufacturer's warranty
This is the step that separates a “quick roof job” from a professional, long-lasting installation.
What Da’ Roofers Check During Inspection
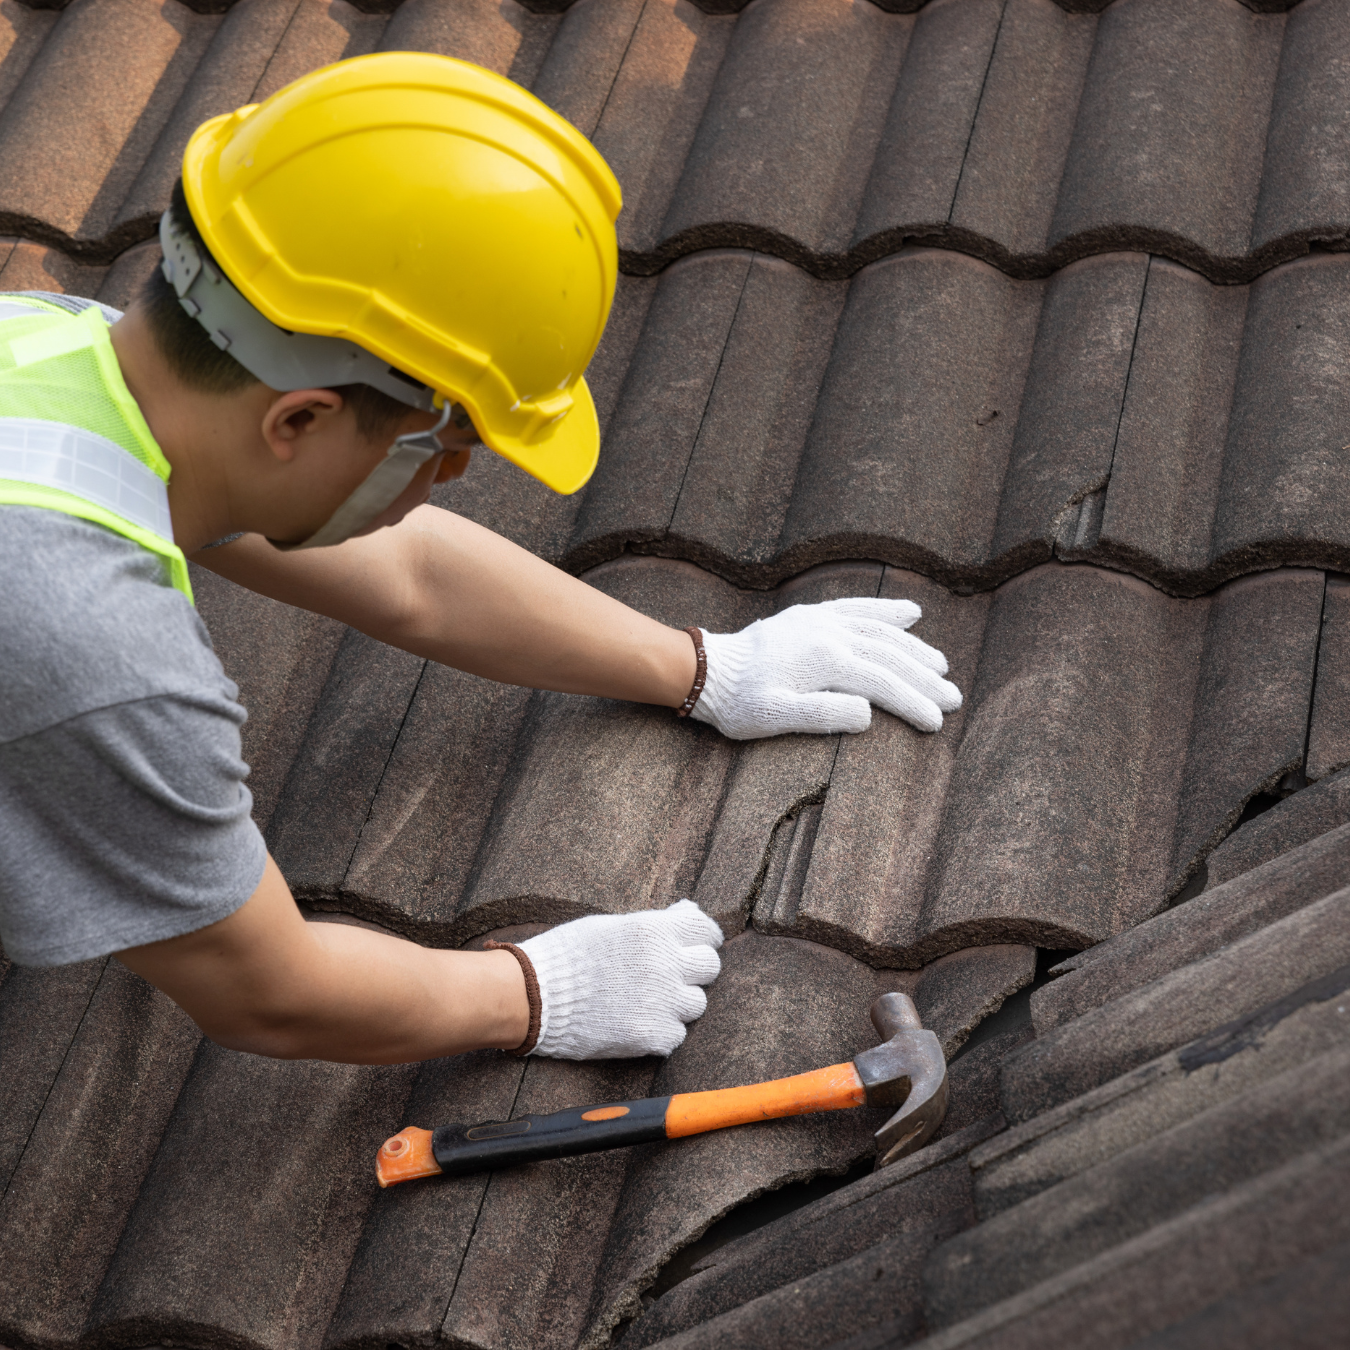
Stacked roof shingles being evaluated for new installation
1. Roof Deck Condition
The crew removes old shingles and takes a close look at the wood decking. Any rotted, soft, or water-damaged sections must be replaced immediately. A new roof can only last if the deck underneath is solid.
2. Flashing Around Openings
Flashing around chimneys, vents, skylights, and walls is a common source of leaks. Da’ Roofers inspect for gaps, rust, or loose sections. If it’s not 100%, it’s replaced.
3. Ventilation Issues
A lot of older DMV homes don’t have enough airflow in the attic. Poor ventilation shortens shingle life and traps moisture. The inspection determines whether the home needs ridge vents, box vents, or attic fans to balance airflow.
4. Number of Old Roof Layers
If the home has multiple layers of old roofing, a full tear-off becomes necessary. This ensures a clean foundation and preserves warranty coverage.
5. Structural Signs
The crew also checks for sagging areas, uneven surfaces, or concerns with rafters and framing. This helps catch structural issues early.
Preparing the Roof for Installation
Once the inspection is complete, the real prep work begins. This part sets the stage for the roof installation.
1. Full Tear-Off

Full tear-off of asphalt roofing shingles during roof inspection in DMV
Old shingles, nails, underlayment, and debris are removed. Starting with a clean deck ensures the new roofing system performs correctly.
2. Replacing Damaged Decking
Bad boards are cut out and replaced with new sheathing. A strong deck means the shingles lie flat and stay secured.
3. Cleaning & Securing the Deck
The crew removes leftover nails, sweeps the surface, and tightens any loose boards. This ensures the deck is smooth and ready.
4. Underlayment Preparation
Before installing ice-and-water shield and underlayment, the crew preps the roof so everything lays clean and uniform.
5. Safety and Protection Setup
Protective barriers are placed around siding, windows, plants, and walkways. Ladders and equipment are secured. This keeps your home safe during the job.
Why This Step Matters for DMV Homeowners
DMV roofs deal with moisture, heat, wind storms, and seasonal temperature swings. A proper inspection and prep phase ensures:
Longer roof lifespan
Better shingle performance
Manufacturer-compliant installation
Future leak prevention
Peace of mind for homeowners
This is the step that saves homeowners money and headaches down the road.
Conclusion
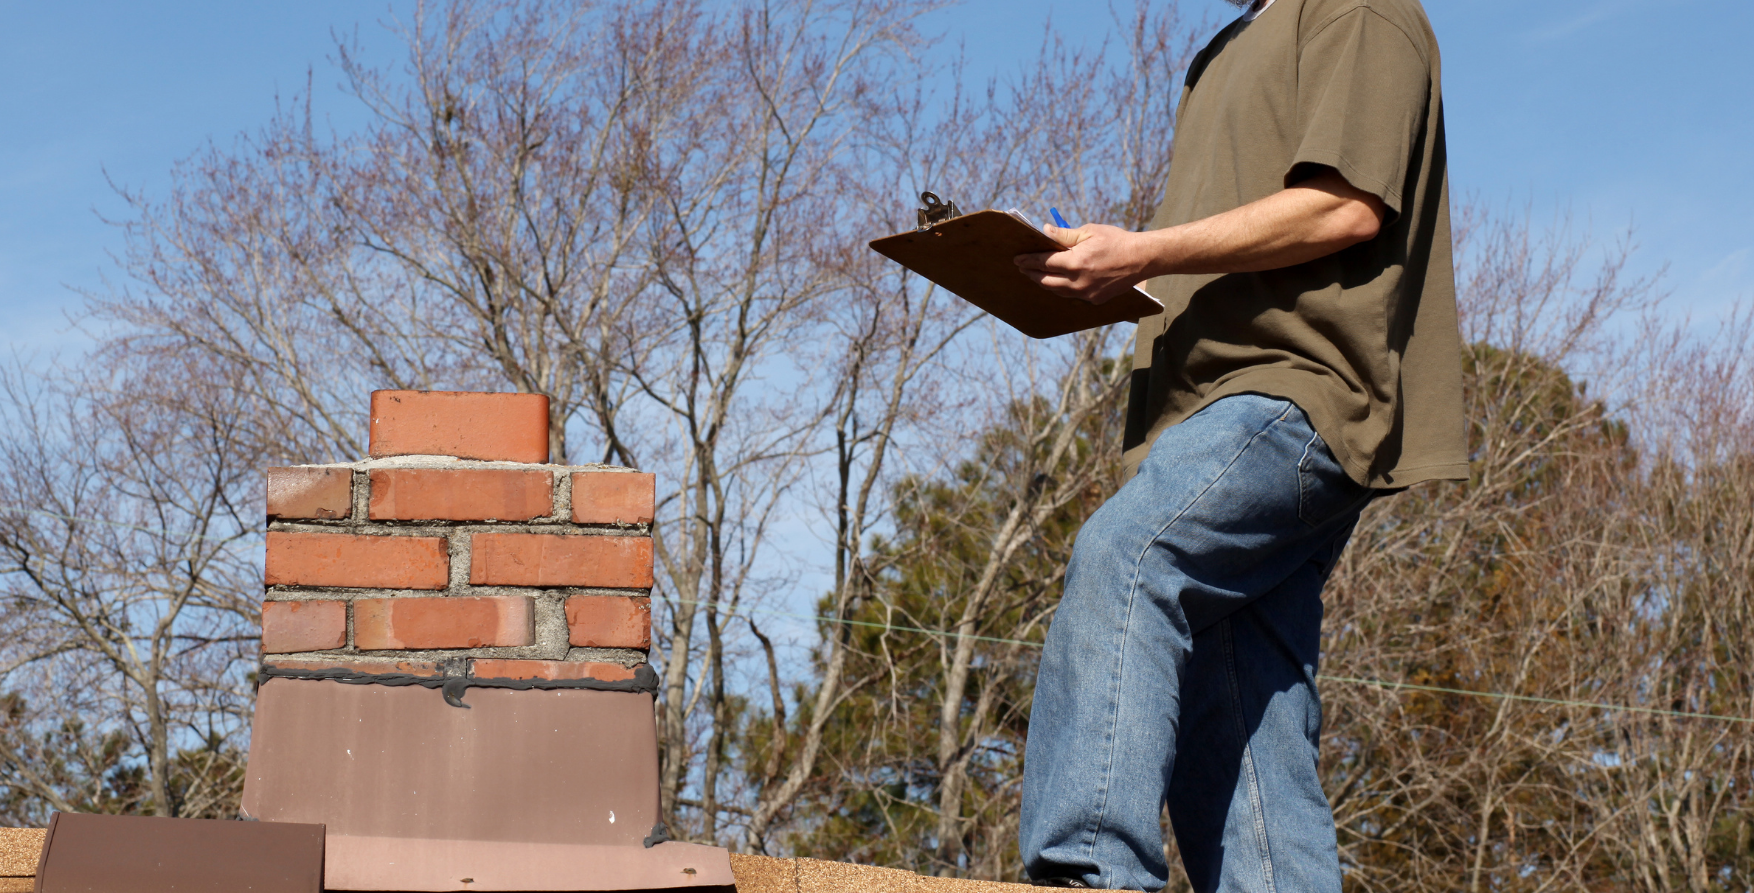
Professional DMV roofer checking roof condition
Roof inspection and preparation are the backbone of every quality roof installation Da’ Roofers perform in the DMV. This first step isn’t just a formality; it’s where hidden damage gets uncovered, the deck gets strengthened, and the home is prepared for a roofing system that’s built to last.
When the foundation is solid, the shingles perform better, warranties stay protected, and homeowners get the long-term peace of mind they’re paying for. A strong roof always starts with proper inspection and preparation, and that’s why Da’ Roofers never skip or rush this crucial stage.
FAQs
1. How long does a roof inspection take?
For most homes, the inspection and prep process takes a few hours. Larger or more complex roofs may take longer.
2. Do Da’ Roofers always do a full tear-off?
Yes. A full tear-off ensures the new roof is installed on a clean, solid deck and meets warranty requirements.
3. What happens if damaged wood is found?
Any rotten or soft decking is replaced immediately. The new roof must sit on strong, secure wood to perform properly.
4. Will I be shown what the crew finds?
We often document damage and show homeowners photos so they understand exactly what was discovered during inspection.
5. Why is ventilation checked during inspection?
Poor ventilation can shorten shingle life and cause moisture buildup. Fixing airflow early guarantees the new roof performs as designed.