

Drip Edge: A Key Line of Defense Against Water Damage
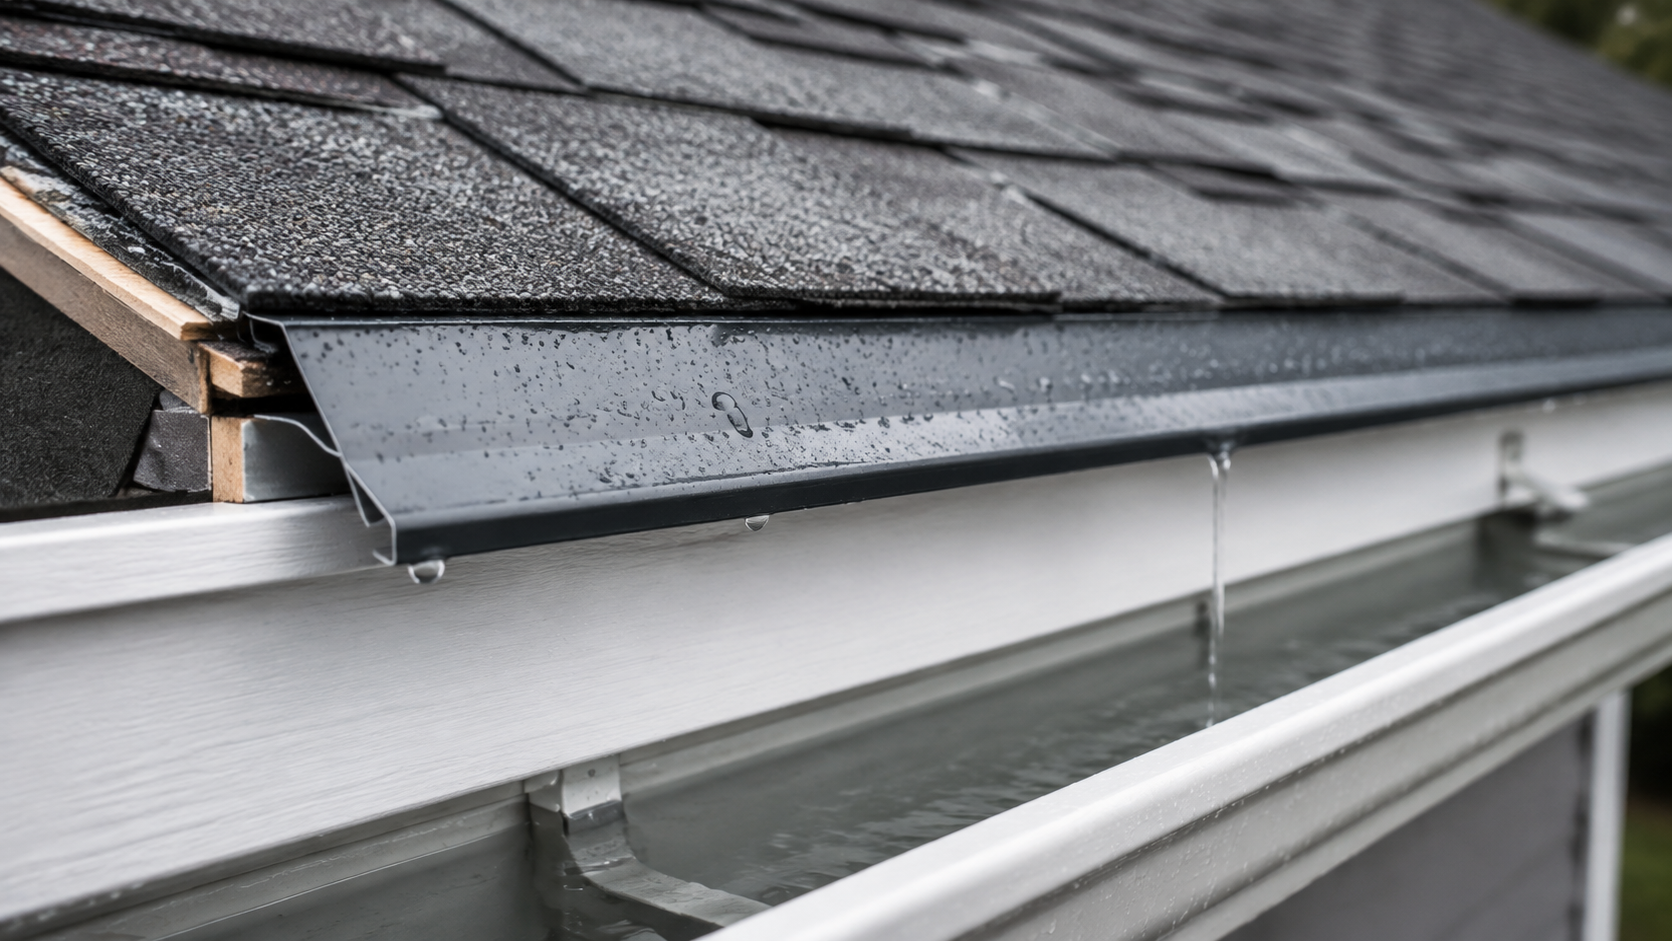
Close-up of metal roof drip-edge flashing directing rainwater into the gutter.
When people think about a new roof, they mostly imagine shingles or vents. Most people don't think about the slim metal strip along the roof’s edges. But that little detail, called the drip edge, plays a huge role in protecting your home from water damage. It’s a specific form of flashing that keeps rain from sneaking under your shingles and directs it safely into the gutters instead of your siding or fascia.
So, what exactly happens during this step of your roof installation? Here’s a quick list of what Da’ Roofers do when installing drip edge flashing:
Remove any old or damaged drip edge from the previous roof.
Inspect the eaves and rakes for rot or damage before installing new metal.
Install new drip edge flashing on all eaves and rakes using corrosion-resistant fasteners.
Ensure proper overlap and alignment, so water flows smoothly off your roof.
Seal and secure joints to prevent any future leaks.
That’s how we make sure your roof edges are strong, clean, and watertight before the shingles even go on.
What Is a Drip Edge and Why It Matters
The drip edge is a narrow strip of metal flashing installed along the roof’s edges: the eaves (bottom edge) and rakes (angled sides). Its job is to control water flow away from your fascia and into the gutters.
Without drip edge flashing, water can sneak behind your gutters, rot the wood beneath your shingles, or even cause peeling paint and mold on your siding. Over time, this can weaken the roof’s edges and shorten the life of your roof.
That’s why, at Da’ Roofers, we never skip this step. Every new roof we install in Maryland includes brand-new drip edge flashing on all eaves and rakes, installed to manufacturer specifications.
How Da’ Roofers Install Drip Edge
We follow a simple but crucial process to make sure your new drip edge does its job perfectly:
1. Remove the Old Drip Edge
If your home has an old roof, we remove any existing drip edge that’s damaged, bent, or corroded. Reusing old metal isn’t worth the risk of leaks later. Check out this article to learn more about common roof leaks.
2. Inspect and Prep the Edges
Before installing anything new, our team checks for rotted wood or water damage along the eaves and rakes. If we spot an issue, we repair it before moving forward, because a solid foundation is key to a long-lasting roof.
3. Install New Drip Edge Flashing
We install brand-new drip edge flashing on all eaves and rakes, using corrosion-resistant nails or screws for a clean, tight fit. The metal overlaps slightly at the joints to direct water smoothly away from your home.
4. Seal and Secure for Longevity
Once installed, we secure and seal all joints, ensuring water can’t slip behind the flashing. The final result is a crisp, finished edge that protects your roof and improves curb appeal.
Benefits of Proper Drip Edge Installation
Installing drip edge flashing isn’t just about looks; it’s about function. Here’s why this small detail matters so much:
Stops Water Damage: Keeps rain from getting under shingles or behind fascia boards.
Prevents Wood Rot: Protects the roof deck and edges from long-term moisture exposure.
Extends Roof Life: A properly installed drip edge helps your roof system last longer.
Improves Curb Appeal: Creates a clean, professional finish along your roofline.
Supports Warranty Coverage: Certain manufacturer warranties, like CertainTeed’s, require drip edge installation for full protection.
Common Drip Edge Mistakes (That Da’ Roofers Avoid)
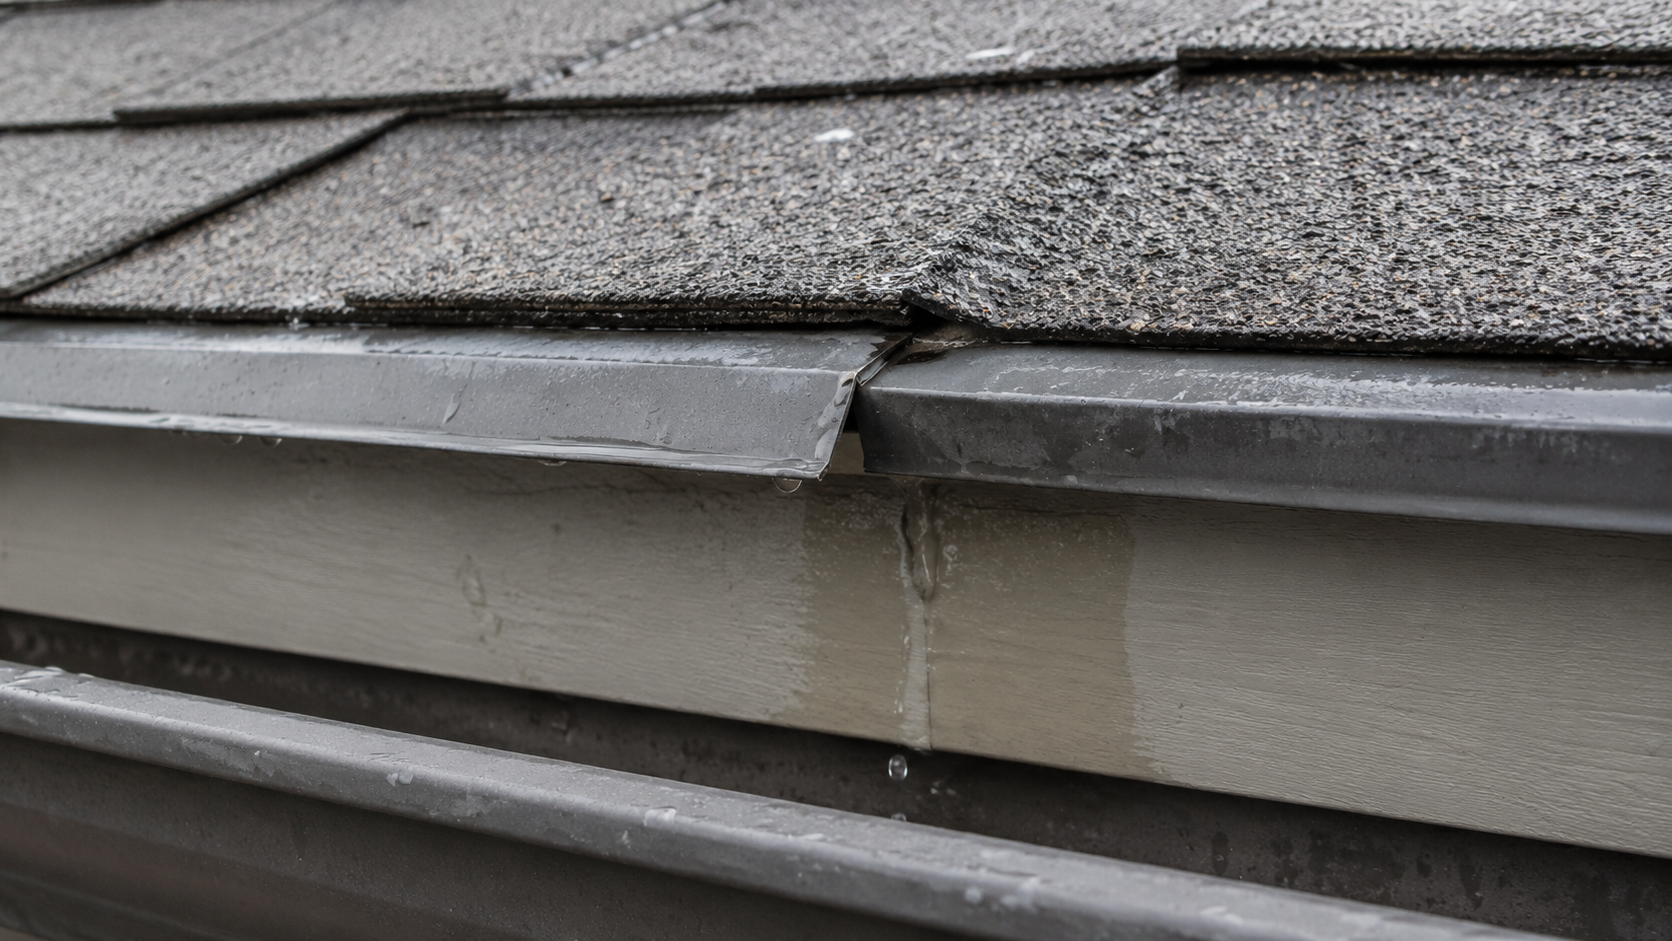
Improperly overlapped roof drip edge allowing water to leak behind the flashing.
Not every roofing crew installs the drip edge correctly. Here are a few mistakes we commonly see on repair jobs, and why we do things differently:
Incorrect Overlap: The metal should always overlap to direct water downward, never backward.
Nails Too Close to the Edge: This can warp the metal and let water sneak under.
Skipping Sealant: Every joint needs to be sealed for complete water resistance.
We take time to double-check each edge so your home stays dry, even during heavy Maryland storms.
Homeowner Tip: Keep Your Drip Edge in Good Shape
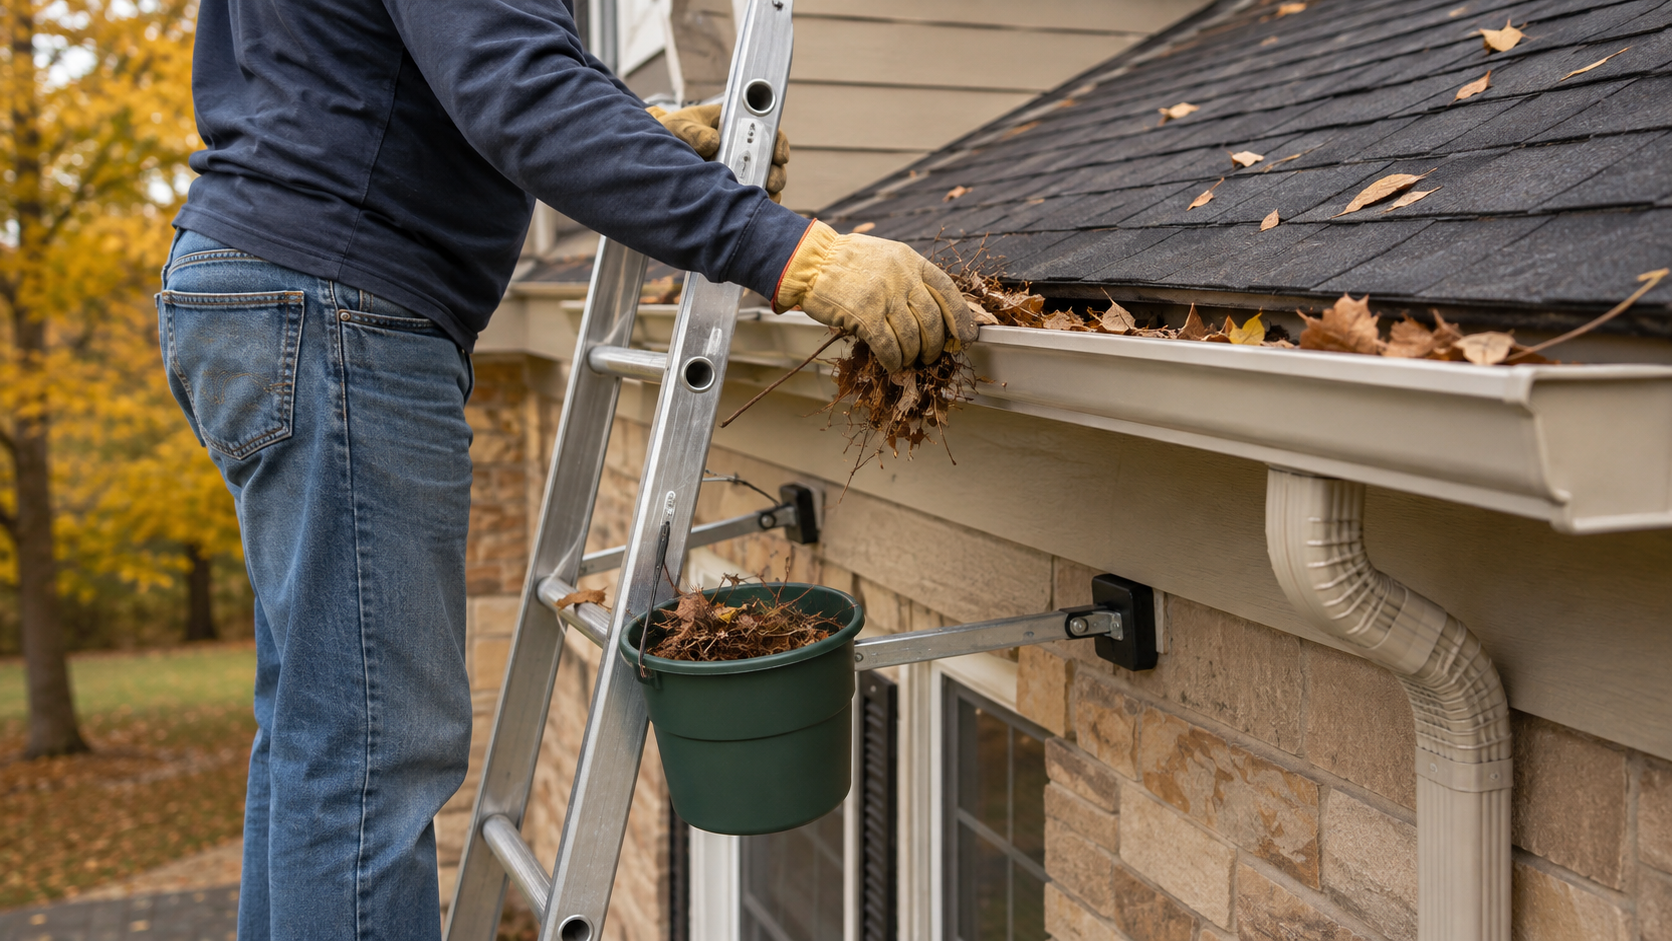
Homeowner safely cleaning leaves and debris from a residential roof gutter.
After your roof is installed, you don’t have to do much, but a few small habits can help your drip edge last even longer:
Clean your gutters at least twice a year to prevent overflow.
Avoid leaning ladders directly on your gutters or drip edge.
Have your roof inspected annually to check for loose edges or sealant cracks.
These small checks can add years of protection to your roof system.
Conclusion
At Da’ Roofers, we don’t treat flashing like a side detail; it’s part of your roof’s overall protection system. By installing new drip edges on all eaves and rakes, we create a clean water-shedding path from your shingles to your gutters.
It’s a small step that makes a huge difference in keeping your home’s foundation, walls, and attic safe from moisture.
FAQs
1. Is drip edge required by code in Maryland?
Yes. Maryland's adopted building code requires drip edge flashing at the eaves and rakes on new roofs, and on reroofing jobs too.
2. What material is used for drip edge flashing?
Da’ Roofers use high-quality, corrosion-resistant aluminum or steel drip edges to match your roof color and style.
3. Can I add a drip edge without replacing my roof?
It’s possible in some cases, but it’s best done during a full roof replacement to ensure proper installation and waterproofing.
4. How long does drip edge flashing last?
Typically, 25–30 years, which is about the same as a well-installed asphalt roof.
