

Flashing Installation: Small Details That Stop Big Leaks
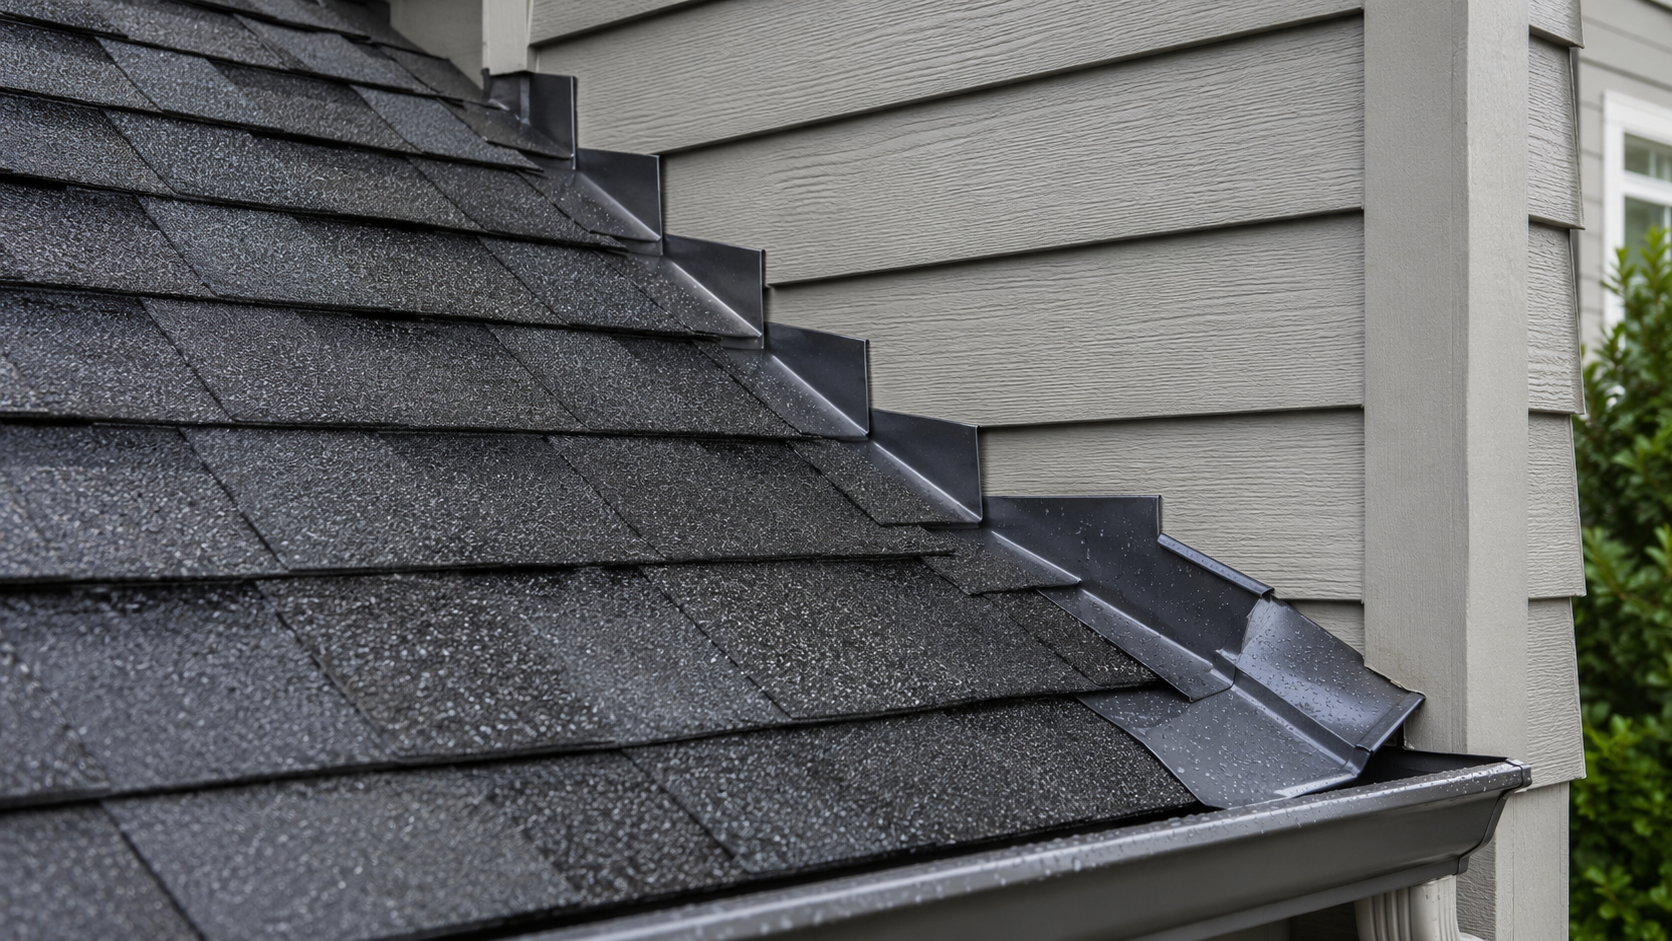
Close-up of roof flashing being installed between shingles and exterior wall cladding.
When people think about a new roof, they usually picture shingles, vents, and maybe gutters. However, one of the most important parts of your roof’s defense system is also one of the smallest: the flashing. These thin metal strips are installed anywhere your roof meets a wall, chimney, or other surface. And when installed properly, they prevent water from sneaking into places it doesn’t belong.
The way we do it at Da’ Roofers is quite straightforward:
Inspect Existing Flashing
Re-Flash the Chimney
Secure Counter Flashing
Step and Apron Flashing
Seal and Test
At Da’ Roofers, flashing installation is handled with the same attention to detail as every other part of the job. It’s not just about replacing metal; it’s about sealing your home against leaks for years to come. Let's find out more.
What Is Roof Flashing and Why It Matters
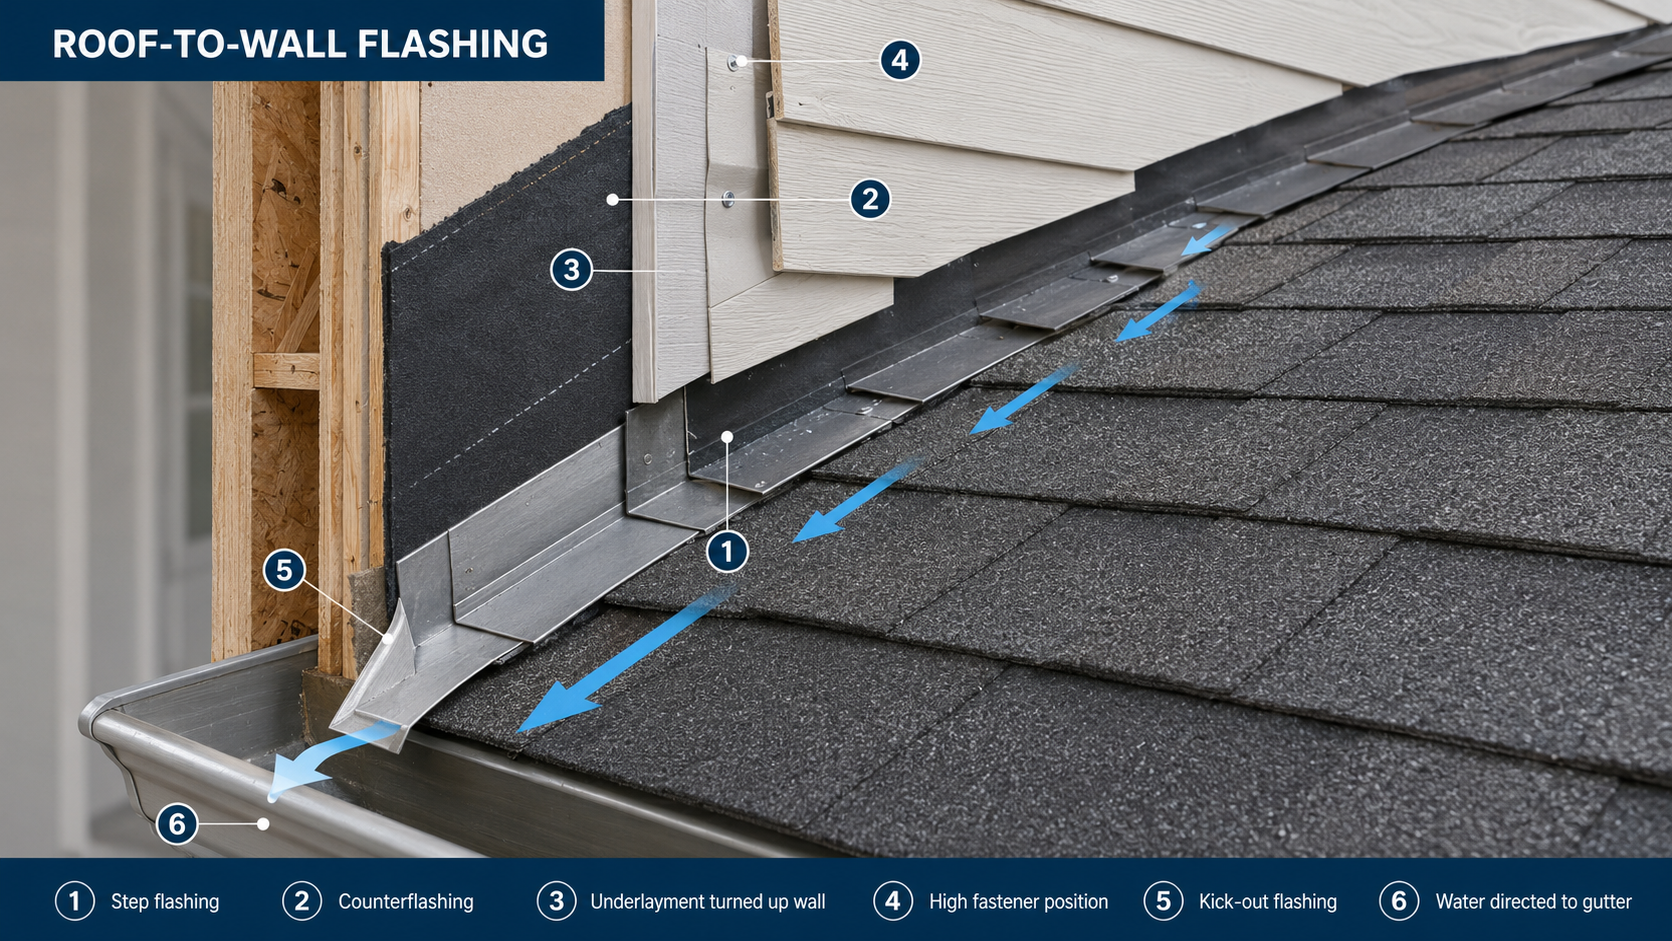
Correct roof-to-wall flashing directing rainwater into the gutter.
Flashing acts as a bridge between your roof and any area where water could seep through: like chimneys, skylights, and roof valleys. Without it, rain and melting snow can creep under your shingles, leading to wood rot, mold, or even interior damage.
Proper flashing ensures water flows away from vulnerable seams and safely off your roof. Think of it as the small but mighty guard that keeps your roof system watertight.
How Da’ Roofers Install Flashing the Right Way
Our crew follows a precise process designed to ensure your flashing looks clean, lasts long, and performs exactly as it should. Here’s how we do it:
1. Inspect Existing Flashing
Before installing new flashing, we check the existing metal around chimneys, skylights, and walls. If it’s rusted, bent, or improperly sealed, it has to go.
2. Re-Flash the Chimney
We re-flash your chimney using .032 gauge aluminum, a heavy-duty material known for its strength and resistance to corrosion. The metal is custom-bent to fit your chimney perfectly, ensuring a snug, weatherproof seal.
3. Secure Counter Flashing
Next, we add secure counter flashing, which overlaps the step flashing and redirects water away from the joint. This double-layered system gives the chimney area extra protection against leaks, especially during heavy Maryland rainstorms.
4. Step and Apron Flashing
We also secure all step and apron flashing, ensuring that every intersection (where the roof meets vertical siding or a dormer) is fully protected. Each piece is carefully overlapped to guide water downward, never inward.
5. Seal and Test
Once the flashing is in place, our team seals edges with high-grade roofing sealant and checks for any gaps. The goal is zero water entry points.
Why Proper Flashing Installation Matters
Prevents Costly Leaks: Even a tiny gap can cause big water damage inside your home.
Protects Roof Decking: Flashing shields the wood structure underneath your shingles.
Extends Roof Life: Proper sealing keeps your entire roof system healthy longer.
Maintains Warranty Coverage: Many manufacturer warranties (like CertainTeed’s) require correct flashing installation.
Signs Your Flashing May Need Replacement
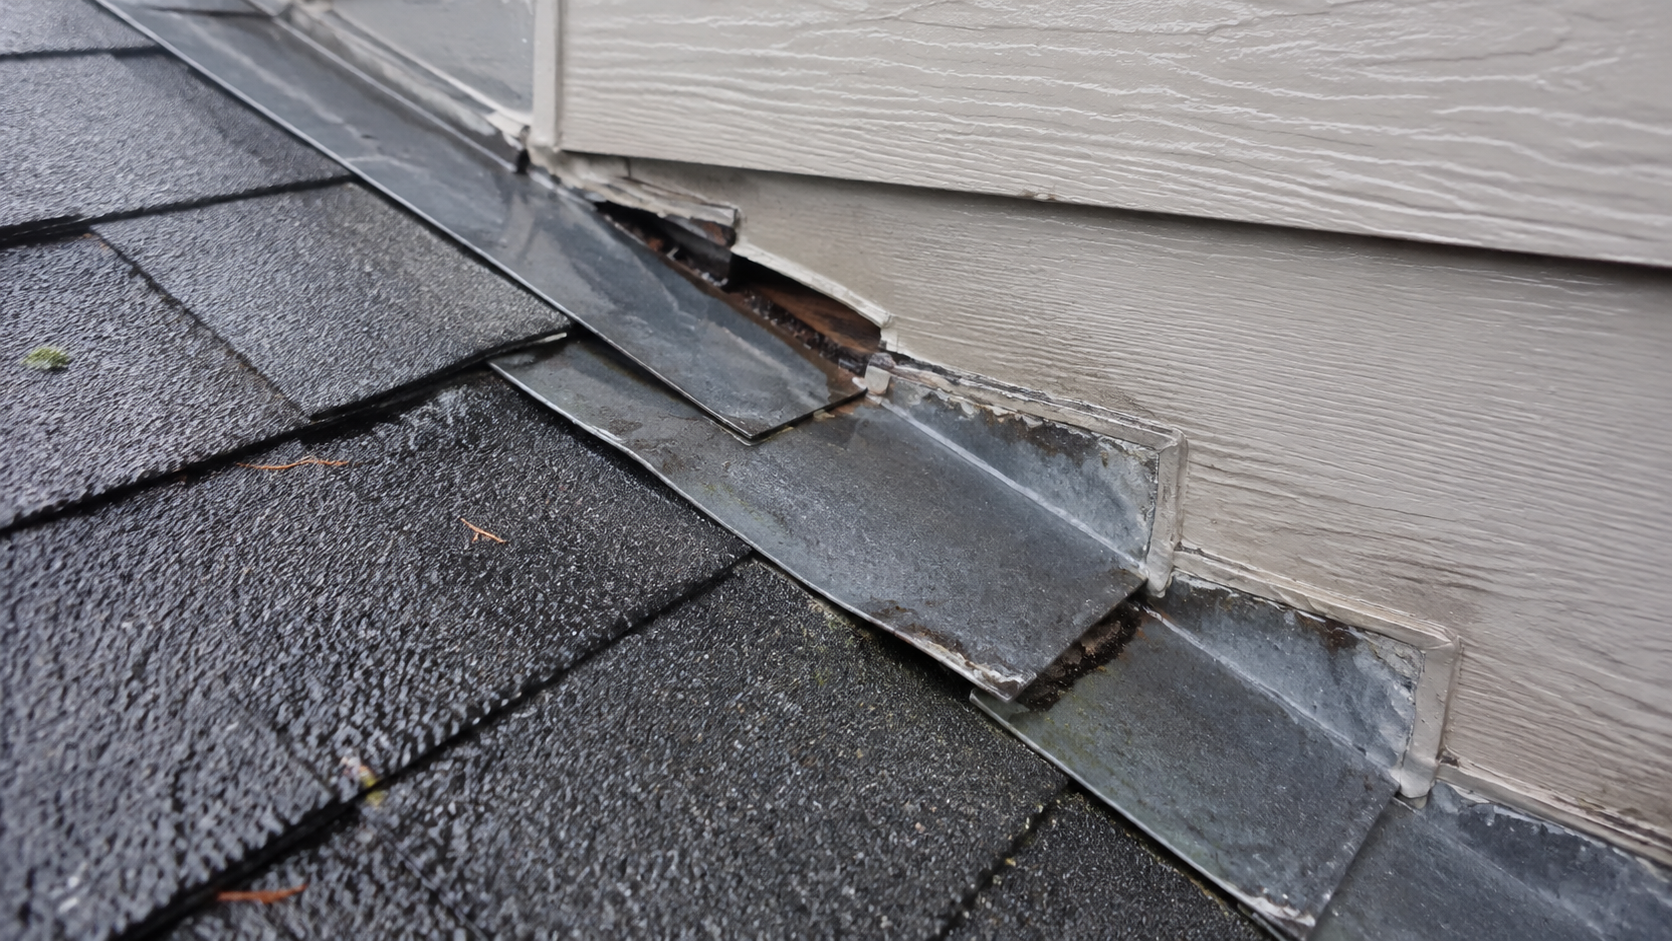
Damaged metal roof flashing pulled away from the wall, leaving a gap that requires repair.
If you’re not getting a full roof replacement but suspect flashing issues, watch for these signs:
Water stains or bubbling paint on walls near the chimney or attic
Rusted or lifted flashing edges
Loose siding where the roof meets the wall
Shingle damage or gaps near roof transitions
If you see any of these, it’s time to call a professional before it turns into a bigger leak.
Homeowner Tip: How to Keep Your Flashing in Great Shape
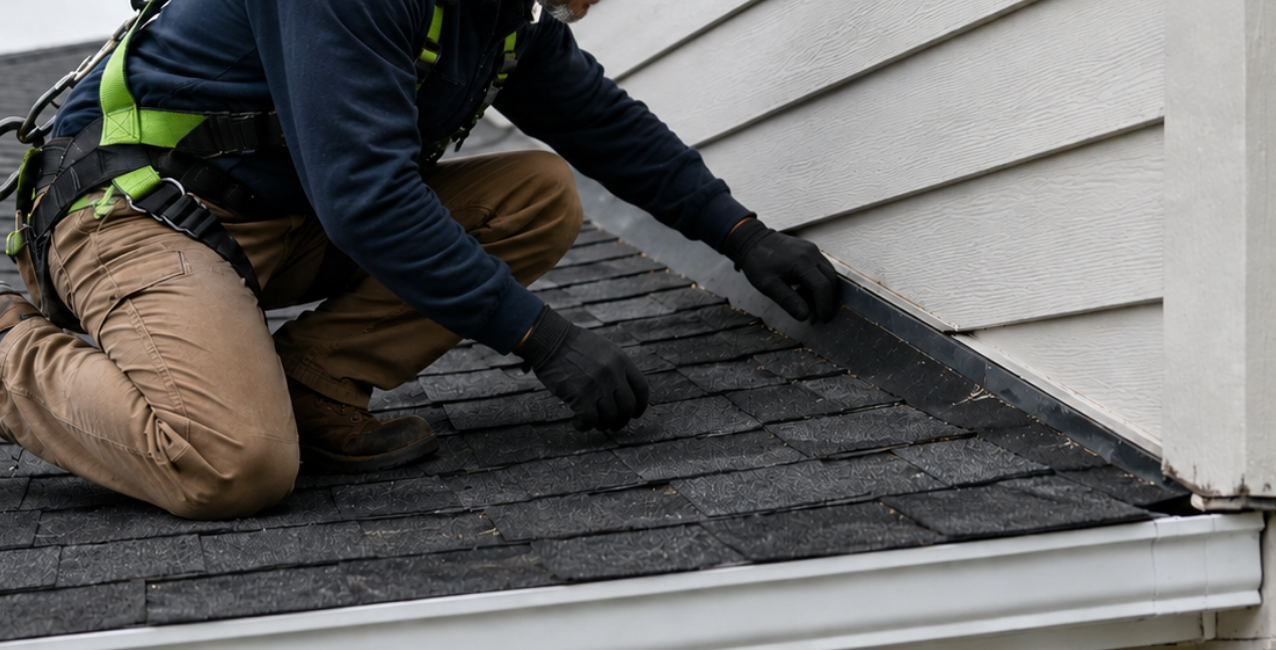
Roof maintenance professional checking wall flashing for signs of damage or leaks.
After your roof is complete, keep an eye on these simple maintenance habits:
Have your roof inspected once a year (especially after harsh weather).
Keep debris away from chimney bases and roof valleys.
Watch for any loose siding or shingle movement near flashing areas.
These small checks can help your new roof, and its flashing, perform like new for decades. Check here to find out how often you should get your roof inspected.
Final Words
Flashing might seem like a small step, but our team treats it as one of the most important. We don’t cut corners or reuse old materials that can fail later. Using premium .032 gauge aluminum and proper counter flashing techniques, we ensure that every roof we install in Maryland is watertight and built to last.
It’s all part of our commitment to quality craftsmanship. The kind of detail homeowners rarely see, but definitely feel when the next storm rolls through.
FAQs
1. Do all roofs need flashing?
Yes. Every roof with a chimney, skylight, dormer, or wall connection needs flashing to prevent leaks where materials meet.
2. What metal is best for flashing?
Aluminum and galvanized steel are common choices. Da’ Roofers use .032 gauge aluminum because it’s strong, rust-resistant, and easy to shape for custom fits.
3. Can flashing be reused during roof replacement?
Not usually. Reusing old flashing can lead to leaks later. It’s best to replace it during your new roof installation.
4. How long does new flashing last?
With proper installation and regular maintenance, aluminum flashing can last as long as your roof (around 20–30 years or more).
