

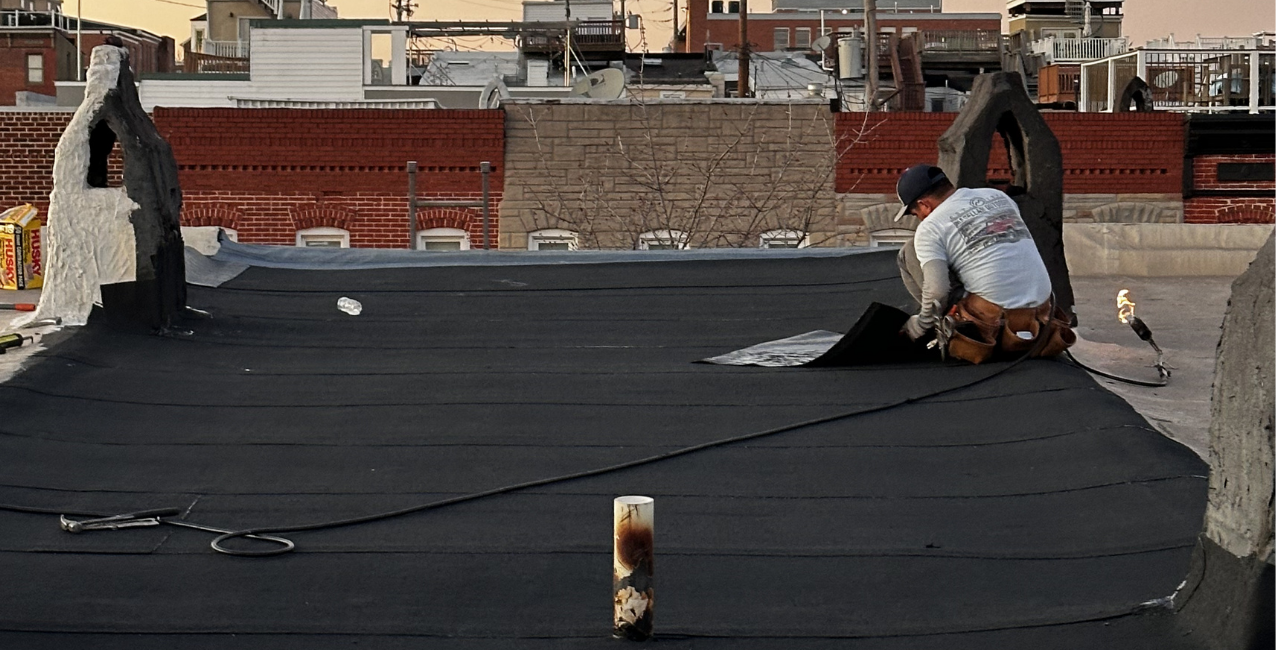
Roofer applying Ice & Water Shield membrane for leak-free roof protection
After tearing off the old roof and installing decking, the next crucial step is waterproofing. Think of it as your roof’s first line of defense against leaks, ice, and water damage. Without it, even the highest-quality shingles could fail in heavy rain or snow.

Roof underlayment with CertainTeed WinterGuard Ice & Water Shield before shingle installation
Da’ Roofers use CertainTeed WinterGuard Ice & Water Shield (basically a giant heavy-duty waterproofing sticker made from a rubberized asphalt membrane), to keep your home dry and protected. It's tear-resistant, and once it sticks on the roof decking, it becomes a self-sealing barrier that prevents water from getting in.
Here’s how we handle waterproofing with Ice & Water Shield:
Gutter Lines: Protects the edges where water naturally collects.
Roof Valleys: Ensures water flows safely off the roof without seeping in.
Rakes (Roof Edges): Provides extra protection along all perimeter edges.
Chimneys and Skylights: Seal vulnerable areas around roof penetrations.
Roof-to-Wall Areas: Prevents leaks where the roof meets vertical walls.
Other Protrusions: Covers vents, pipes, and any other roof openings.
This layer acts as a hidden shield beneath your shingles, giving your roof superior protection in all seasons. Let's dive into it.
The Step-by-Step Installation Process
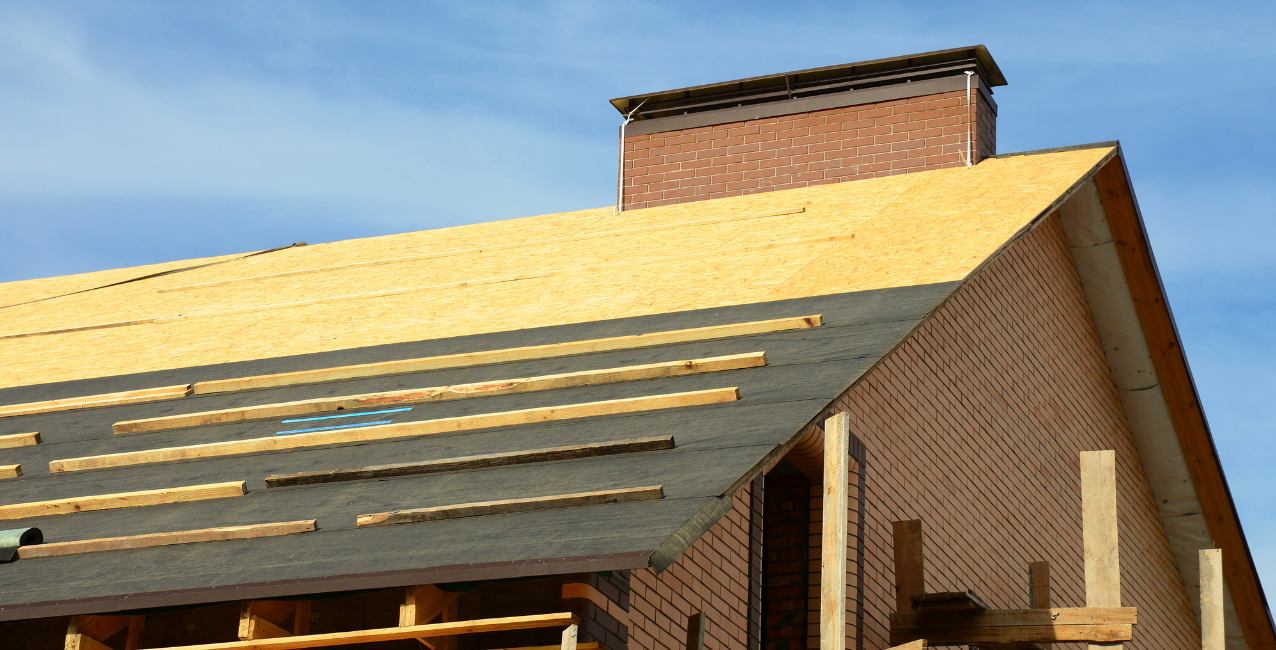
Residential roof decking prepared for new roofing installation
1. Prepare the Decking
Before applying the shield, the decking must be clean and smooth. Any leftover nails, dust, or debris are removed so the membrane adheres perfectly.
2. Apply the WinterGuard
Da’ Roofers roll out the Ice & Water Shield across all critical areas:
Gutter lines — along the eaves where water runoff begins.
Valleys — where two roof planes meet.
Rakes and edges — to prevent wind-driven rain from seeping under shingles.
Chimneys and skylights — ensuring a tight seal around penetrations.
Roof-to-wall junctions — a frequent leak spot if untreated.
Any roof protrusions — vents, pipes, or plumbing stacks.
The membrane is carefully pressed into place, eliminating bubbles or wrinkles that could compromise its effectiveness.
3. Overlap Seams
To prevent water intrusion, all seams are overlapped according to manufacturer guidelines. This ensures a continuous, unbroken waterproof barrier.
4. Check for Proper Coverage
Da’ Roofers inspect every inch of the shield to confirm complete coverage. Nothing is left to chance. The goal is a roof that performs flawlessly for years.
Why Ice & Water Shield Matters
Roof leaks can start in the tiniest gaps, and they often appear in unexpected places like valleys, chimneys, or near gutters. Here’s why this step is so important:
Prevents Ice Dams: In colder months, ice can form along roof edges and gutters. The shield keeps water from backing up under shingles.
Protects Vulnerable Spots: Areas around skylights, vents, and chimneys are prone to leaks without a waterproof barrier.
Extends Roof Life: By keeping moisture out, it prevents wood rot, mold, and structural damage.
Enhances Shingle Performance: Shingles stick properly to a solid, waterproof base, ensuring wind and weather resistance.
Using CertainTeed WinterGuard means you’re getting a system backed by research and trusted by professional roofers.
Final Thoughts
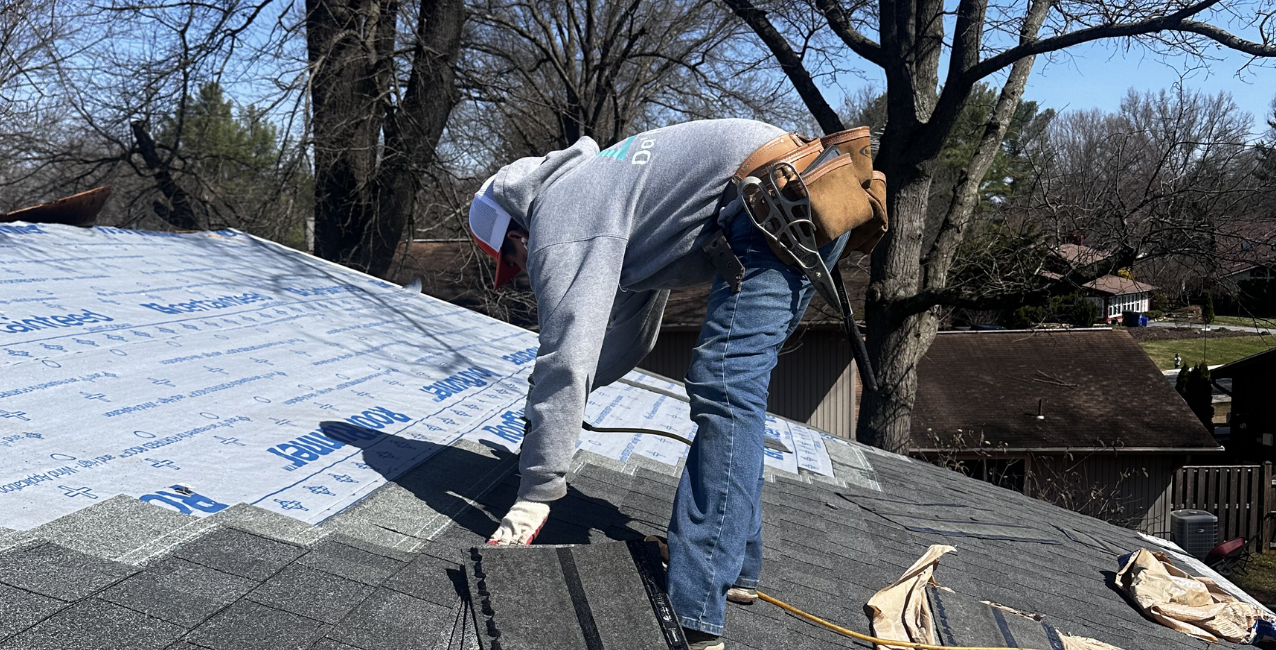
Maryland roofing contractor checking the roof before shingle installation and waterproofing
Waterproofing with CertainTeed WinterGuard Ice & Water Shield is a small step with a huge impact. It protects your home’s decking, walls, chimneys, and gutters from leaks and water damage while giving your new roof the foundation it needs to last.
With Da' Roofers, every membrane is applied with precision and care, ensuring your roof is prepared for whatever weather Maryland throws at it. Proper waterproofing today means fewer repairs and greater peace of mind for years to come.
FAQ
1. How long does this step take?
Depending on roof size, waterproofing typically takes a few hours. Valleys and chimneys may require extra attention.
2. Can I skip this step?
No. WinterGuard is essential for leak prevention and maintaining your roof warranty.
3. Does the membrane work under all types of shingles?
Yes. CertainTeed WinterGuard is compatible with asphalt shingles and most other roofing systems.
4. Is this necessary for all homes in Maryland?
Absolutely. Even in moderate climates, waterproofing prevents damage from heavy rain, ice, and wind-driven water.
5. Will the crew clean up after this step?
Yes. Any scraps of membrane or backing material are collected before moving on to underlayment and shingle installation.
