

Installing Hip and Ridge Shingles the Right Way: How DA Roofers Do It in the DMV
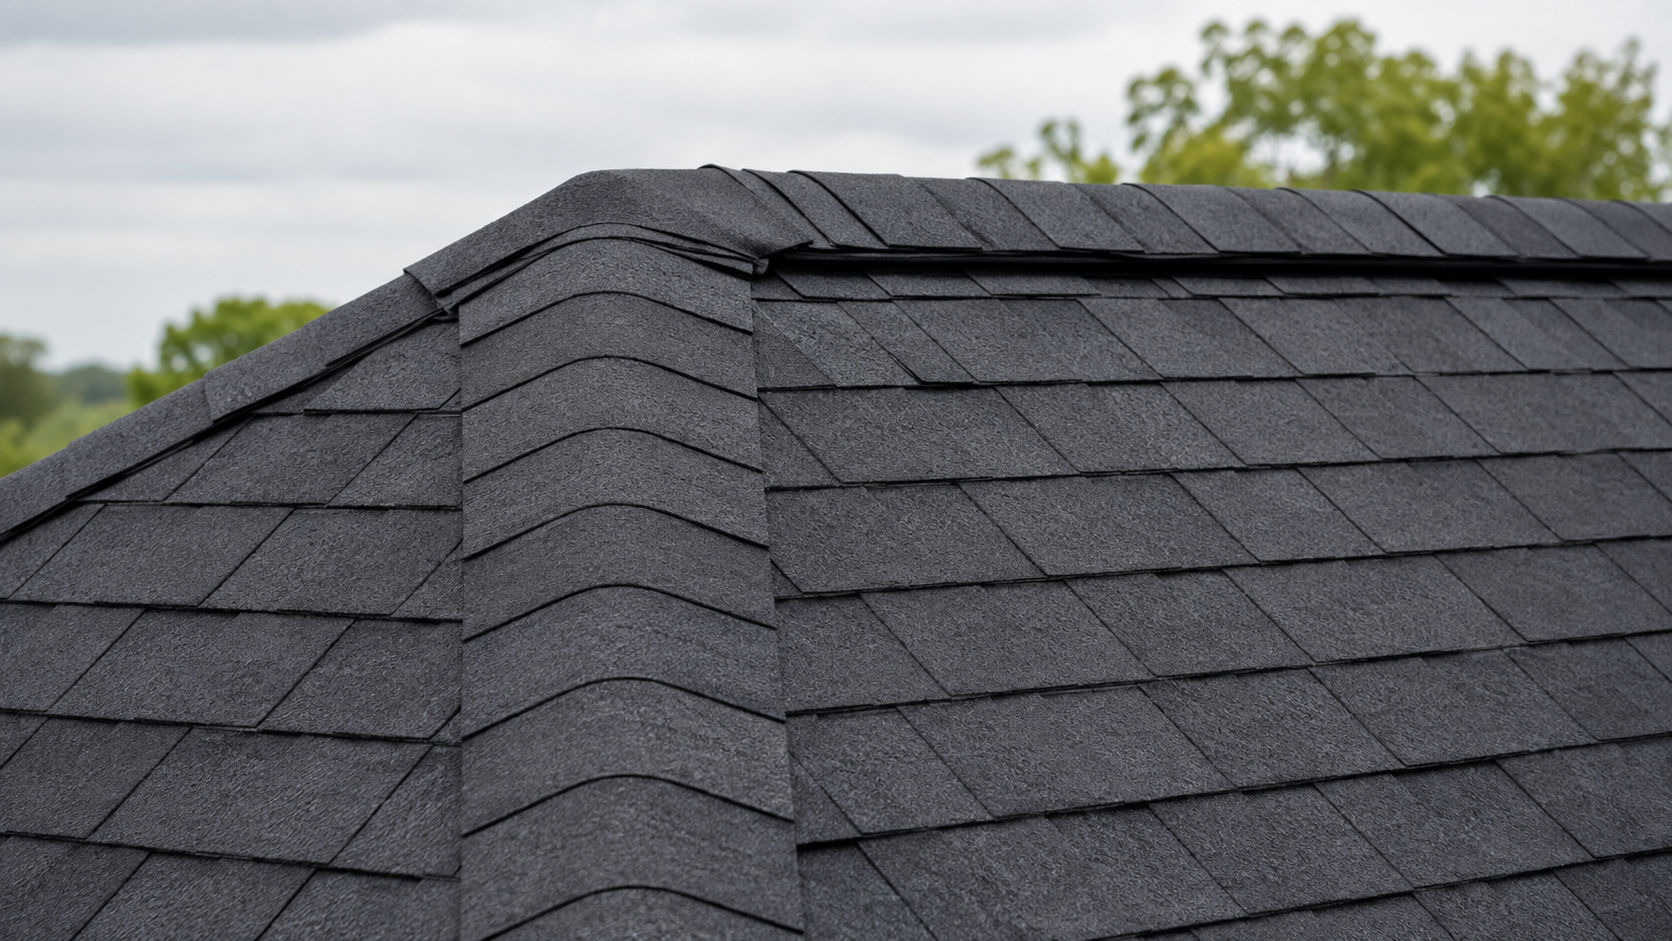
Properly aligned ridge-cap shingles protecting the hip and peak of a shingle roof.
When your roof installation gets to the final stages, the finishing touch that truly seals the job is the hip and ridge shingles. These aren’t just for looks, they protect some of the most vulnerable parts of your roof from wind and water damage. Here's how they're installed:
Inspect and Prep the Ridge
Confirm Shingle Alignment
Open and Prep the Shadow Ridge Bundle
Start From the Right End
Nail Each Ridge Cap Securely
Keep It Straight and Smooth
Trim and Seal the Final Cap
Repeat for All Hips and Ridges
Final Inspection
At Da’ Roofers, we take this step seriously. Every line has to be straight, every shingle has to be nailed just right, and the product we trust most for this part of the job is the CertainTeed’s Shadow Ridge shingle. Here’s how we get it done, step by step.
Step 1: Inspect and Prep the Ridge
Before anything goes down, our crew makes sure the ridge and hip areas are clean, smooth, and properly decked. The ridge is the very top line of the roof where two sides meet, while the hips are the angled edges that run from the top down to the eaves.
Any stray nails, dust, or shingle fragments from earlier stages are cleared off. This makes sure the ridge caps lie flat and seal properly.
Step 2: Confirm Shingle Alignment
Next, we check that all field shingles (the ones covering the main roof) are evenly installed on both sides of the ridge. This ensures your ridge line looks straight and professional once capped. We’ll then snap a chalk line along the ridge to act as a precise visual guide.
Step 3: Open and Prep the Shadow Ridge Bundle
CertainTeed’s Shadow Ridge hip and ridge shingles come scored for easy separation. We break them along the pre-cut lines so each piece can be installed individually. Each section is uniform, flexible, and designed to bend perfectly over the ridge without cracking, even in cooler temperatures.
Step 4: Start From the Right End
We always start from the end opposite the prevailing wind direction. That way, each shingle overlaps the one before it, adding an extra layer of wind protection. The first cap shingle is laid so that its exposed edge faces away from the wind.
Step 5: Nail Each Ridge Cap Securely
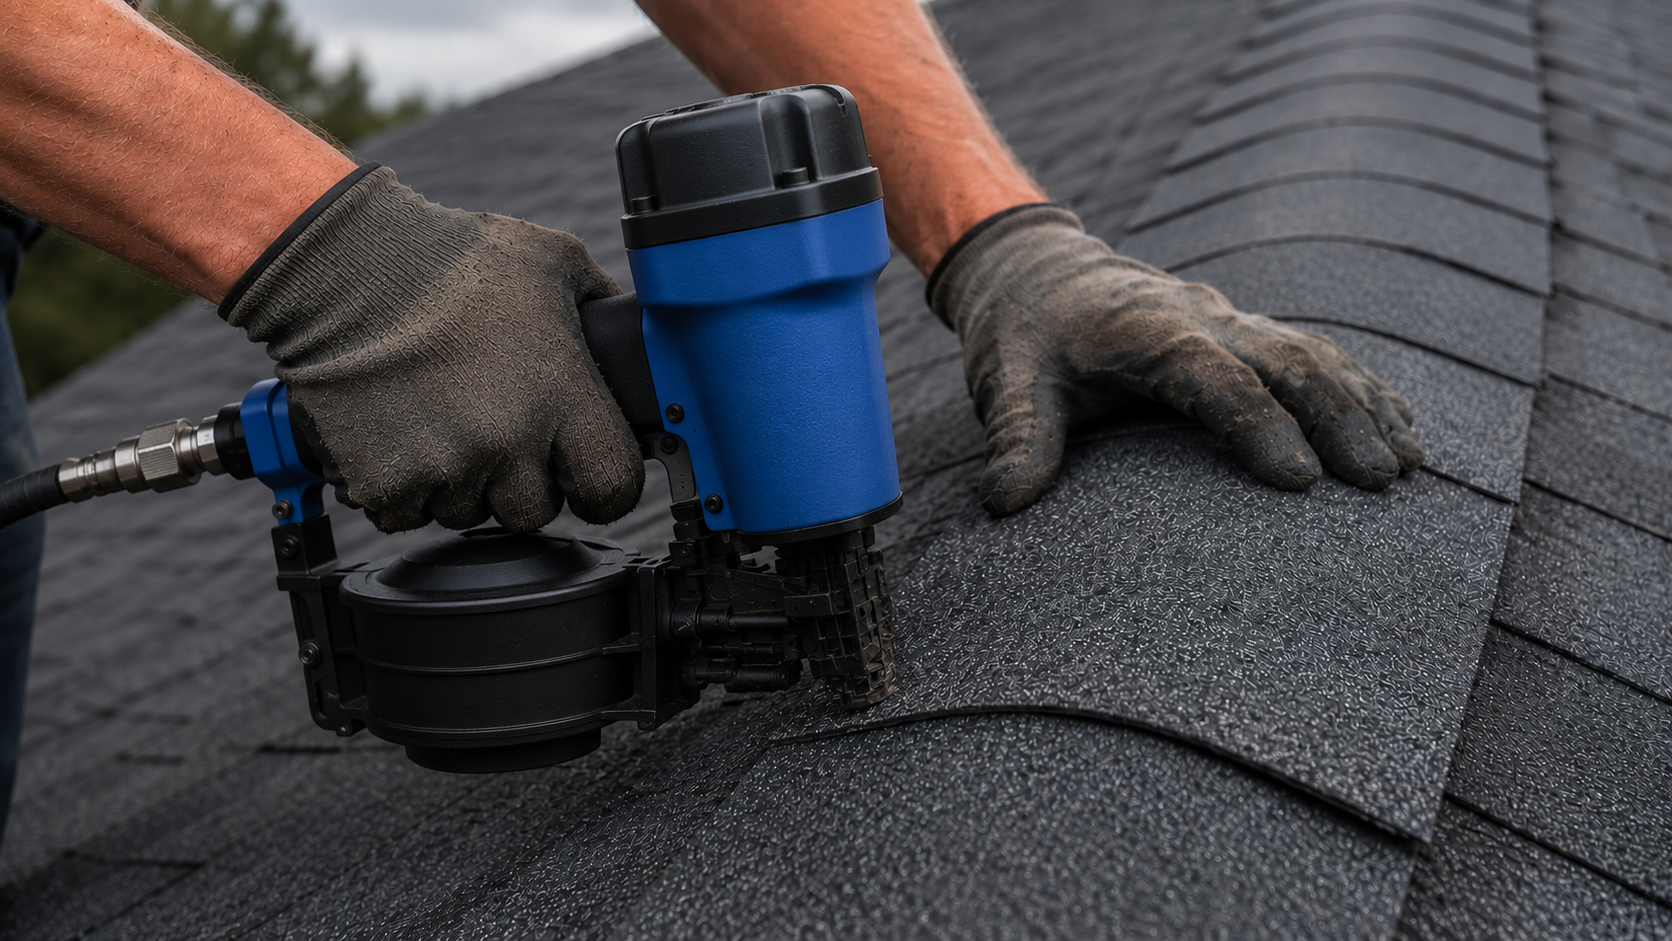
DMV Roofer securely fastening a ridge-cap shingle with a pneumatic nail gun.
Every ridge cap gets two galvanized roofing nails, spaced about six inches apart and just above the exposure line. For Shadow Ridge shingles, we typically use 1¼-inch nails as they're long enough to penetrate the decking for a solid hold.
Each new cap shingle overlaps the previous one by about 5 1⁄2 inches, or per CertainTeed’s installation specs. That consistent overlap not only looks clean but ensures no water can creep underneath.
Step 6: Keep It Straight and Smooth
We follow the chalk line closely to make sure the ridge caps stay in perfect alignment. This is one of those finishing details that homeowners might not notice up close, but from the street, it makes a big difference. A straight ridge line gives your whole roof a crisp, professional look.
Step 7: Trim and Seal the Final Cap
Once we reach the end of the ridge or hip, we cut the last shingle to fit snugly. That last piece gets an extra dab of roofing sealant underneath for added wind resistance. Especially in the DMV, where gusty storms are common, that little bit of adhesive can make a big difference in durability.
Step 8: Repeat for All Hips and Ridges
The same process repeats across all hips and ridge lines on the roof. Each line is capped, nailed, overlapped, and sealed. It’s detailed work, but it’s what keeps your roof protected and looking sharp for decades.
Step 9: Final Inspection
Before wrapping up, our team double-checks nail placement, overlap consistency, and shingle alignment. Any loose nails or debris get cleared off the roof. This final inspection ensures that the roof not only performs well but looks flawless from every angle.
Why We Use CertainTeed Shadow Ridge
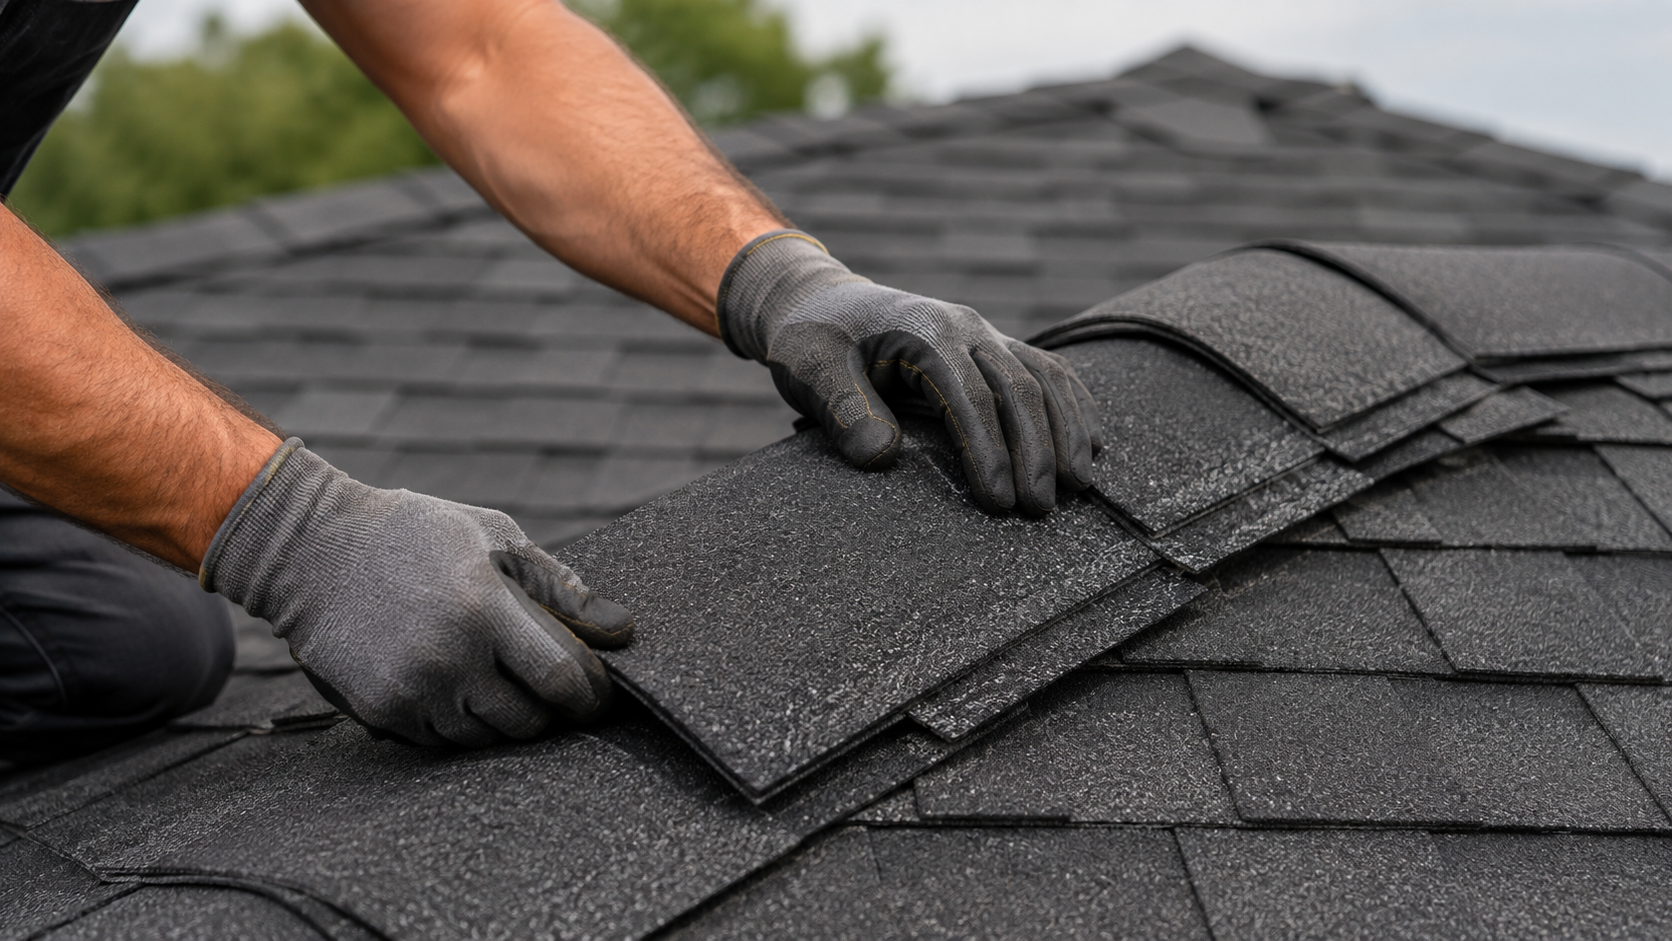
Professional roofer aligning ridge-cap shingles to protect and finish an asphalt roof ridge.
CertainTeed’s Shadow Ridge isn’t just a finishing piece; it’s designed to match and complement their shingles perfectly. It’s thicker, dimensional, and flexible enough to handle both sharp and gradual ridges. Most importantly, it seals tight and holds up beautifully in the DMV’s unpredictable weather, from humid summers to freezing winters.
Bottom Line
Installing hip and ridge shingles might seem like a small step in the roofing process, but it’s the detail that ties the whole roof together — literally and visually.
At Da’ Roofers, we don’t rush it. We take the time to line it up right, seal it down tight, and make sure every ridge looks clean and uniform. With CertainTeed Shadow Ridge shingles, you’re not just getting protection; you’re getting a roof that looks as good as it performs.
FAQs
1. What are hip and ridge shingles?
Hip and ridge shingles are specially designed shingles that cover the ridges and angled hips of a roof. They provide a watertight seal and a clean, finished look while protecting those joints from wind and leaks.
2. Why does Da’ Roofers use CertainTeed’s Shadow Ridge shingles?
We use CertainTeed’s Shadow Ridge because they’re durable, flexible, and color-matched to CertainTeed’s main shingle lines. They hold up exceptionally well in DMV weather and give a sharp, professional finish to any roof.
3. How are hip and ridge shingles installed?
They’re installed starting from the end opposite the prevailing wind, with each piece overlapping the previous one by about 5½ inches. Nails are placed just above the exposure line, and the last piece is sealed for extra wind resistance.
4. Do hip and ridge shingles need special nails?

Close-up of 1¼-inch galvanized roofing nails on asphalt shingles.
Yes. They should be secured using 1¼-inch galvanized roofing nails or whatever fastener the manufacturer recommends. This ensures proper penetration and long-term holding strength.
5. Can I use regular shingles instead of ridge caps?
Technically you can, but it’s not ideal. Regular shingles aren’t shaped or reinforced for ridge applications. Using real ridge caps like CertainTeed Shadow Ridge ensures better fit, protection, and durability.
