

Laying the Starter Shingles: The Foundation of a Strong Roof
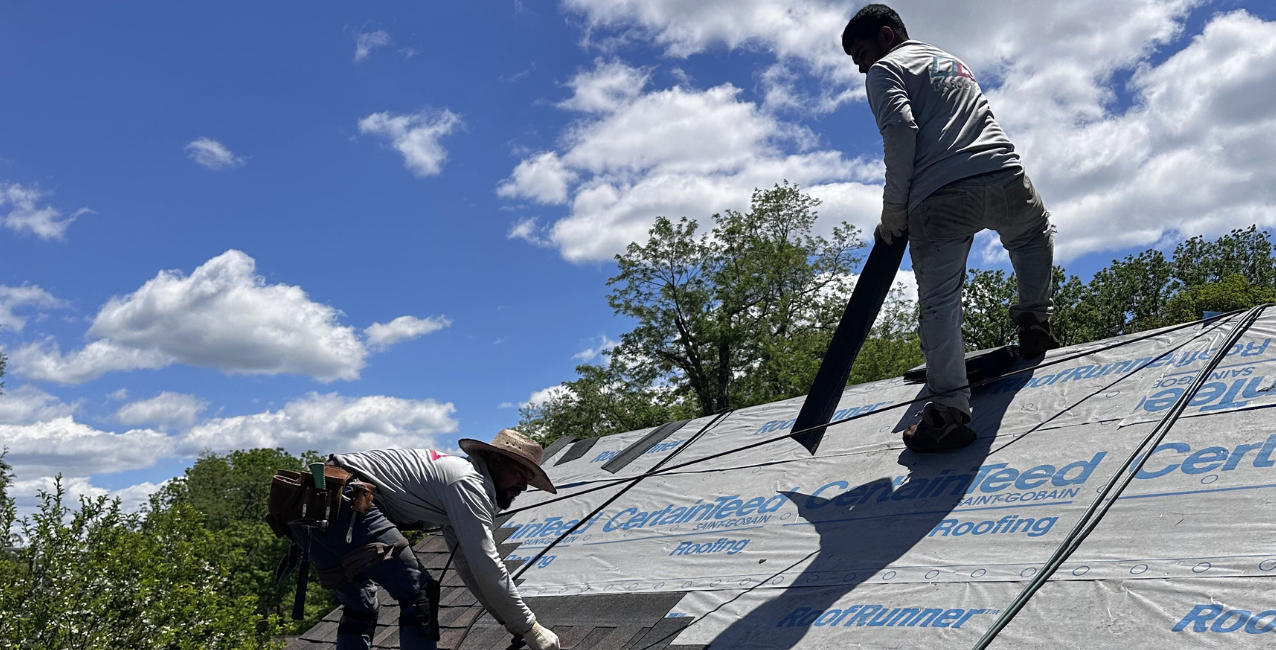
When it’s finally roof installation day, one of the first visible steps you’ll notice after the underlayment goes down is the laying of the starter shingles. It might not look like much at first (just a single layer of shingles along the edges) but this step is one of the most important in keeping your new roof secure and watertight.
At Da’ Roofers, we take this part seriously. We don’t just lay down any starter strip and move on. Our team makes sure your roof starts off right with CertainTeed SwiftStarter shingles on all gutter lines, and we add an extra layer of protection along the rakes for upgraded 130 mph wind resistance. Let’s break down what that means for you.
What Are Starter Shingles?
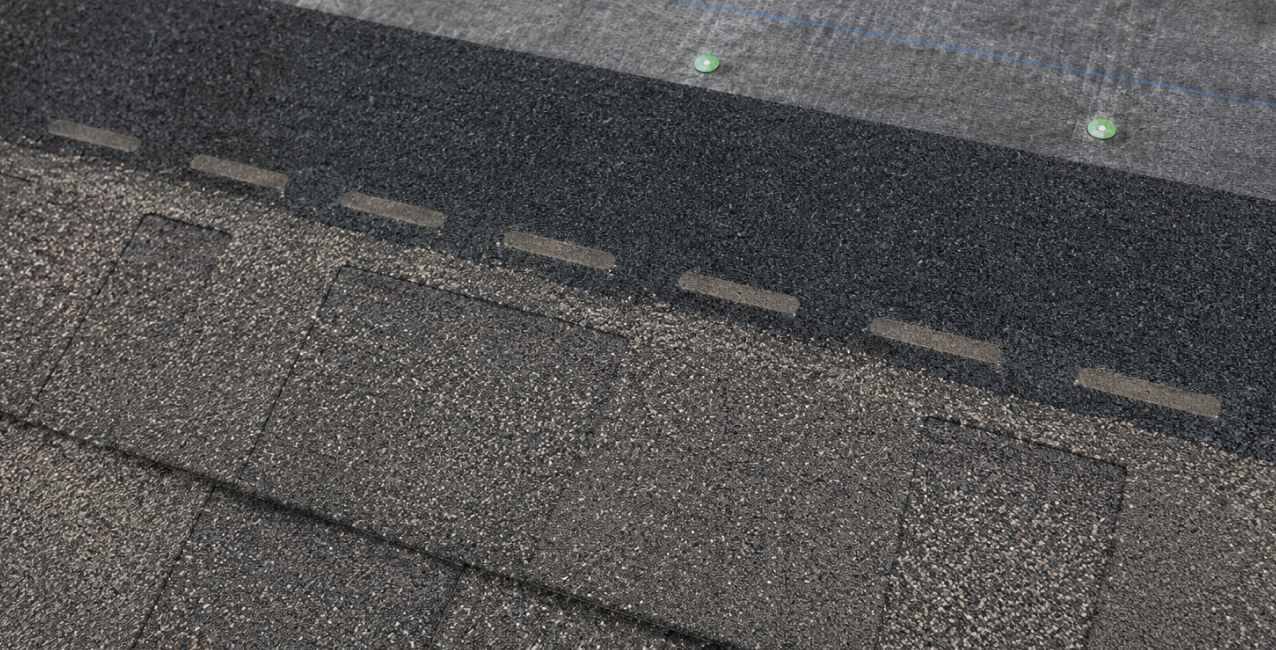
Starter shingles are the first row of shingles installed at the roof’s edges — both along the eaves (the bottom edges where water runs off) and the rakes (the angled sides).
Think of them as the base layer that everything else builds on. They provide a clean, straight edge for the first course of main shingles to stick to, while also sealing off areas where wind and water could sneak underneath.
Although they're both made from the same material, starter shingles are usually long, narrow strips with simple designs, while regular shingles have a more textured design or architectural look. The starter shingles might not be very visible from your yard, but they are important to your roof. Without them, you could end up with leaks, lifted shingles, and wind damage long before your roof should be aging.
The Process: How We Lay Starter Shingles the Right Way
Every roofing company might say they install starter shingles, but how they do it makes all the difference. Here’s how Da’ Roofers handle this critical step, from start to finish:
1. Surface Preparation
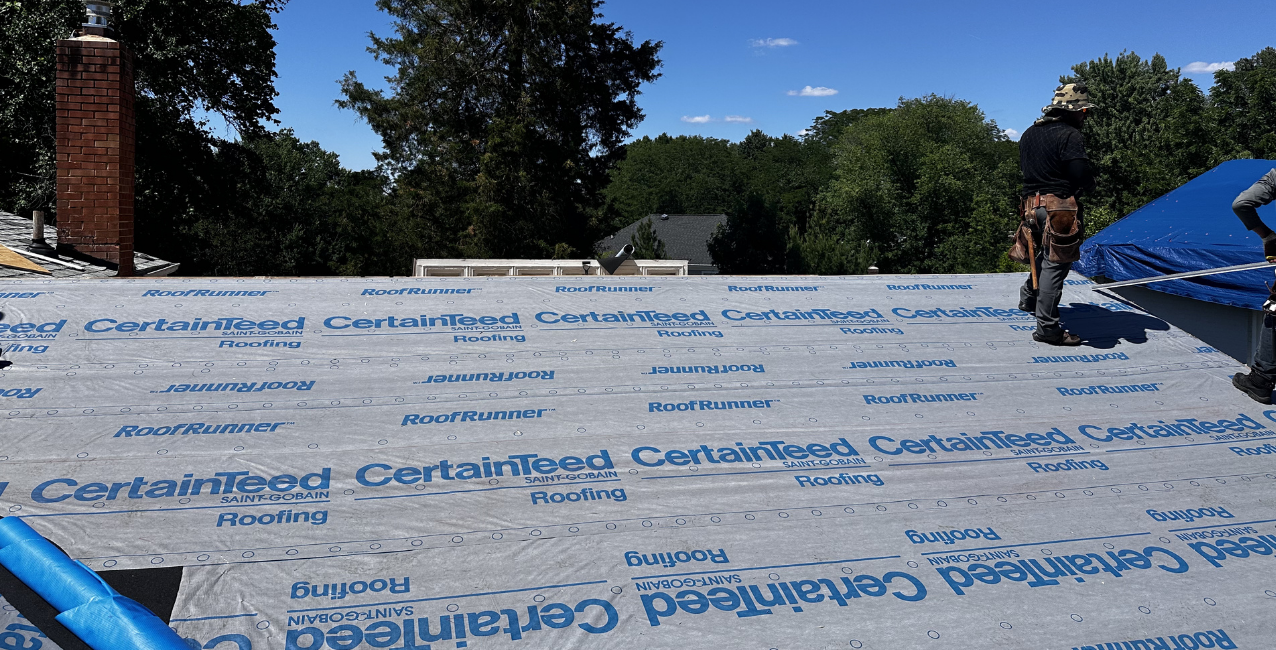
Before any shingles go down, we make sure the roof deck and underlayment are perfectly smooth. Any raised nails or folds are flattened out. This ensures the starter shingles sit tight without air pockets that could trap moisture later.
2. Chalk Line Layout
We snap straight chalk lines across the eaves and rakes. These guidelines help us line up each piece perfectly, so your roof edge looks clean and even from the street. Straight starter courses (the first row of shingles installed along the eaves and rakes) are what give your finished roof that professional, balanced look.
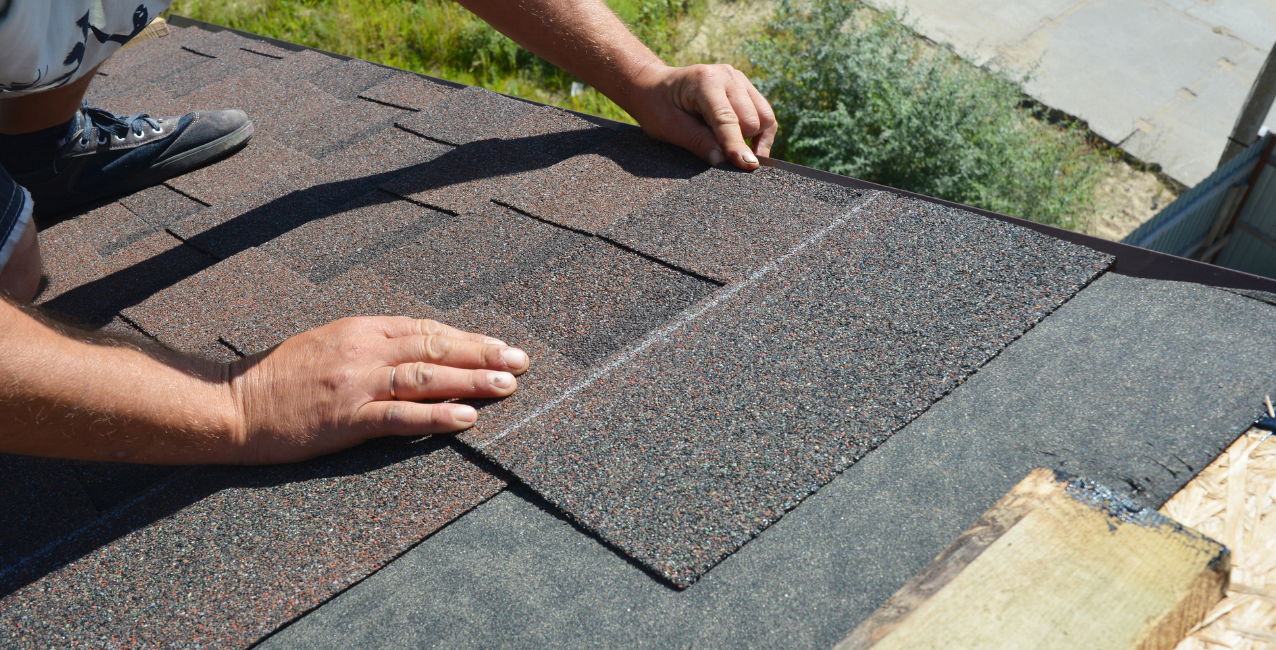
3. Applying SwiftStarter Shingles Along the Eaves
We begin along all gutter lines using CertainTeed SwiftStarter shingles. Each shingle is placed with the adhesive strip facing upward and toward the roof edge, ready to bond with the first full course of shingles.
We overlap each piece slightly for full coverage and secure it with nails set just above the adhesive line (not too close to the edge, not too high). Proper nail placement prevents wind lift and shingle movement.
4. Installing Additional Starter Shingles Along the Rakes
Once the eaves are complete, our team moves up the rakes. This is where we add another starter shingle (something contractors sometimes skip). This starter shingle reinforces the roof’s edge, locking down the main shingles and protecting against wind gusts that can pull them loose.
This step is what gives your roof its 130 mph wind rating, ensuring long-term strength even during severe weather.
5. Sealing and Alignment Check
After installation, we double-check every edge to ensure the shingles are flush, straight, and sealed tight. The crew inspects the adhesive bond and corrects any uneven spots before laying the first main shingle course.
Once the sunlight warms the surface, the adhesive activates and forms a strong seal. That seal is your roof’s first major line of defense against rain and wind.
6. Clean-up and Edge Protection
Before moving on, we clean off all shingle cuttings and debris along the edges. We also verify that the drip edge flashing underneath is properly sealed and visible, giving your home a neat, finished look and extra water protection.
Why We Use CertainTeed SwiftStarter on All Gutter Lines
At Da’ Roofers, we install CertainTeed SwiftStarter shingles on every gutter line, not only because they’re high-quality, but because they’re specifically designed to form a tight seal between your roof’s edge and the first layer of shingles.
These starter shingles have a factory-applied adhesive strip that bonds securely to your main shingles once the sun hits it, creating a weatherproof edge that helps lock out moisture and wind uplift.
This isn’t just about looks. It’s about giving your roof the kind of protection that lasts through DMV storms, heavy rain, and seasonal temperature swings.
Upgrading Wind Resistance: Additional Starter Shingle on Rakes
Here’s where Da’ Roofers go the extra mile.
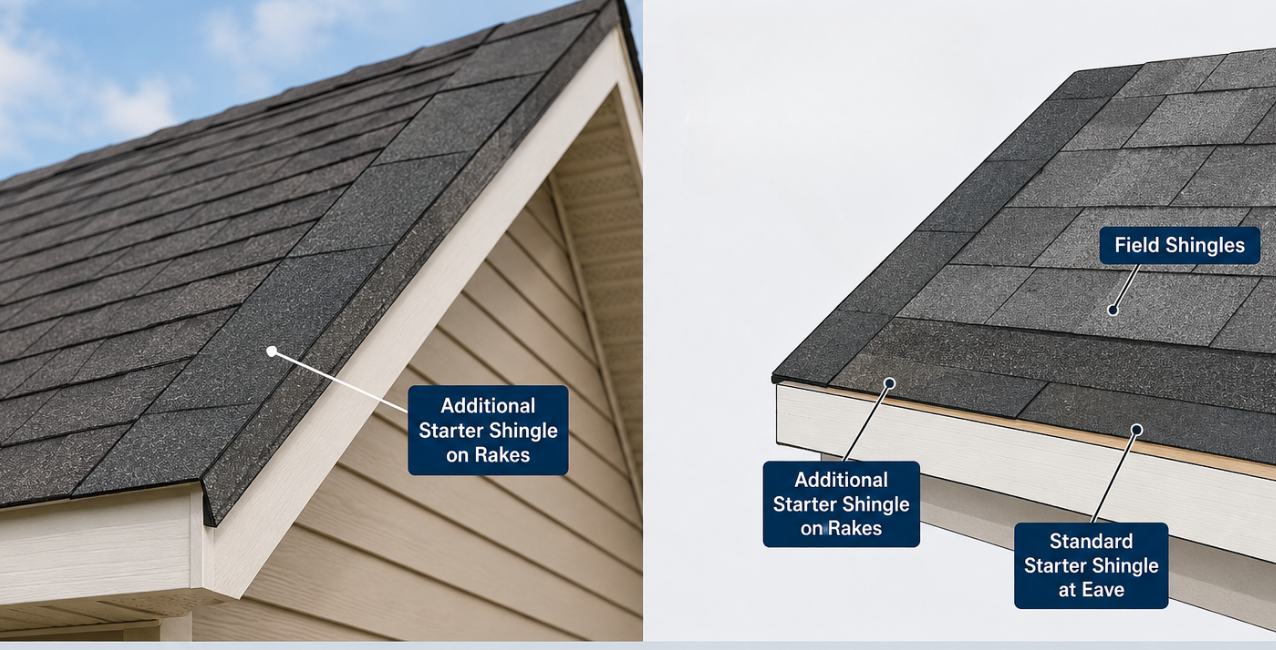
Along the rakes (those angled edges that run from the eaves up to the ridge), we install starter shingles. This small but powerful upgrade bumps your roof’s wind resistance rating up to 130 mph, which is the same as what you’d find on hurricane-resistant systems.
So even when those strong DMV winds kick up, your shingles stay tight and secure.
It’s one of those behind-the-scenes details that most homeowners don’t think about, but it makes a huge difference in how your roof performs over time.
Why This Step Matters So Much
A roof is only as good as its foundation, and in roofing terms, that foundation starts with the starter shingles. They:
Stop wind-driven rain from getting under your shingles
Create a strong bond along the edges
Prevent shingle blow-offs in storms
Keep your rooflines straight and visually appealing
Skipping this step or using generic starter strips might save a few bucks, but it often leads to expensive repairs later. That’s why Da’ Roofers never cut corners here.
Our Commitment to Long-Term Performance
Every roof we install in the DMV is built to withstand the region’s mix of hot summers, cold winters, and strong winds. Using CertainTeed SwiftStarter shingles and adding the extra starter layer on rakes is part of our standard best practice — not an upsell, not an optional add-on.
It’s how we ensure that your investment lasts and performs the way it should, for decades to come.
Final Thoughts
Laying the starter shingles may seem like a small step in the big picture of roof installation, but it’s one of the most critical for long-term protection. With Da’ Roofers, you’re not just getting a roof that looks good; you’re getting a system that’s built layer by layer, for strength, style, and durability.
If you’re planning a new roof or roof replacement anywhere in the DMV, ask about our CertainTeed SwiftStarter system and 130 mph wind-resistant upgrade. We’ll make sure your roof starts and stays strong.
FAQs
1. Can starter shingles be skipped?
Short answer: no. Skipping them makes your roof more likely to leak or have shingles blown off in the wind. They’re cheap compared to the cost of fixing wind or water damage later.
2. Why use CertainTeed SwiftStarter on gutter lines?
SwiftStarter has a factory-applied adhesive that bonds with the first shingle course when warmed by the sun. That creates a tight, weatherproof edge that helps prevent leaks and wind uplift, which is especially important along gutters.
3. What’s the extra starter shingle on the rakes for?
The extra starter layer along the rakes strengthens the roof’s sideline against wind uplift. At Da’ Roofers we use it to upgrade wind resistance to about 130 mph, helping prevent shingle lift in strong gusts.
4. Do starter shingles add to the roof’s lifespan?
Yes. They reduce water intrusion and wind damage at the most vulnerable edges, so the whole roofing system performs better and lasts longer.
5. Will this affect my insurance or warranty?
Using rated products and proper installation (like SwiftStarter) can help with manufacturer warranties and may be viewed favorably by insurers. Always check your specific warranty terms and insurance policy for exact language.
6. How long do starter shingles last?
Starter shingles are part of the roof system, so they typically last as long as the shingles they support (often decades when properly installed and maintained).