

What Happens on Roof Build Day: A Step-by-Step Guide for Homeowners
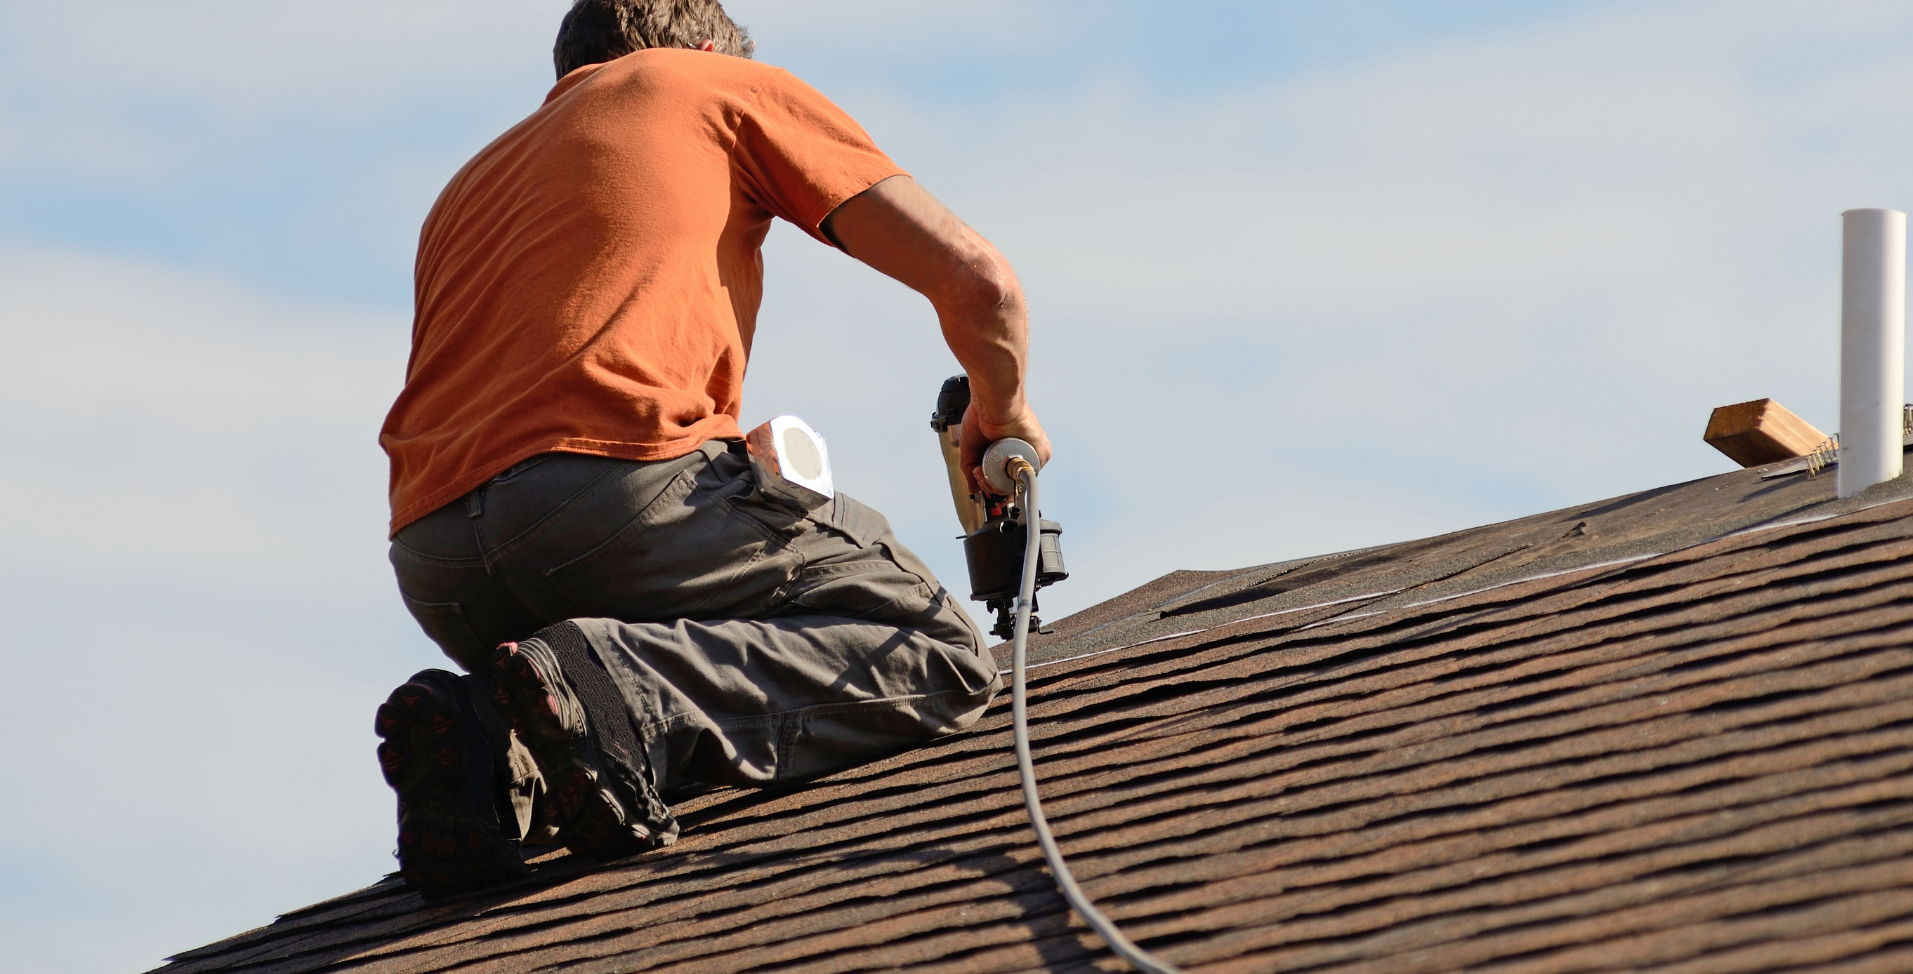
DMV Roofer installing new roofing on a residential home
Roof installation day is da’ big makeover day for your home. It's the day your home finally gets the protection and curb appeal it deserves. You’ve gone through the inspection, picked your materials, and scheduled your installation. But if you’ve never had a roof replaced before, you might be wondering: what actually happens on build day?
On your roof’s installation day, Da’ Roofers arrive early, prepare your property for protection, remove your old roofing materials, and install a brand-new system layer by layer — from decking and waterproofing to shingles, vents, and final cleanup. Here’s exactly what happens when Da’ Roofers install your new roof in the DMV:
Material Delivery and Site Preparation
Tear-Off of the Old Roof
Decking Inspection and Replacement
Waterproofing with Ice & Water Shield
Underlayment Installation
Flashing Installation
Drip Edge Installation
Pipe Boots Installation
Installing Starter Shingles
Main Shingles Installation
Adding Hip and Ridge Shingles
Ridge Vent Installation
Final Inspection and Cleanup
4-STAR Warranty Activation
Every step is carefully handled to make sure your home stays protected, energy-efficient, and beautiful for years to come. Let’s walk you through each stage so you know exactly what to expect when the crew pulls up to your home.
Homeowner Tip Box: How to Prepare for Roof Build Day
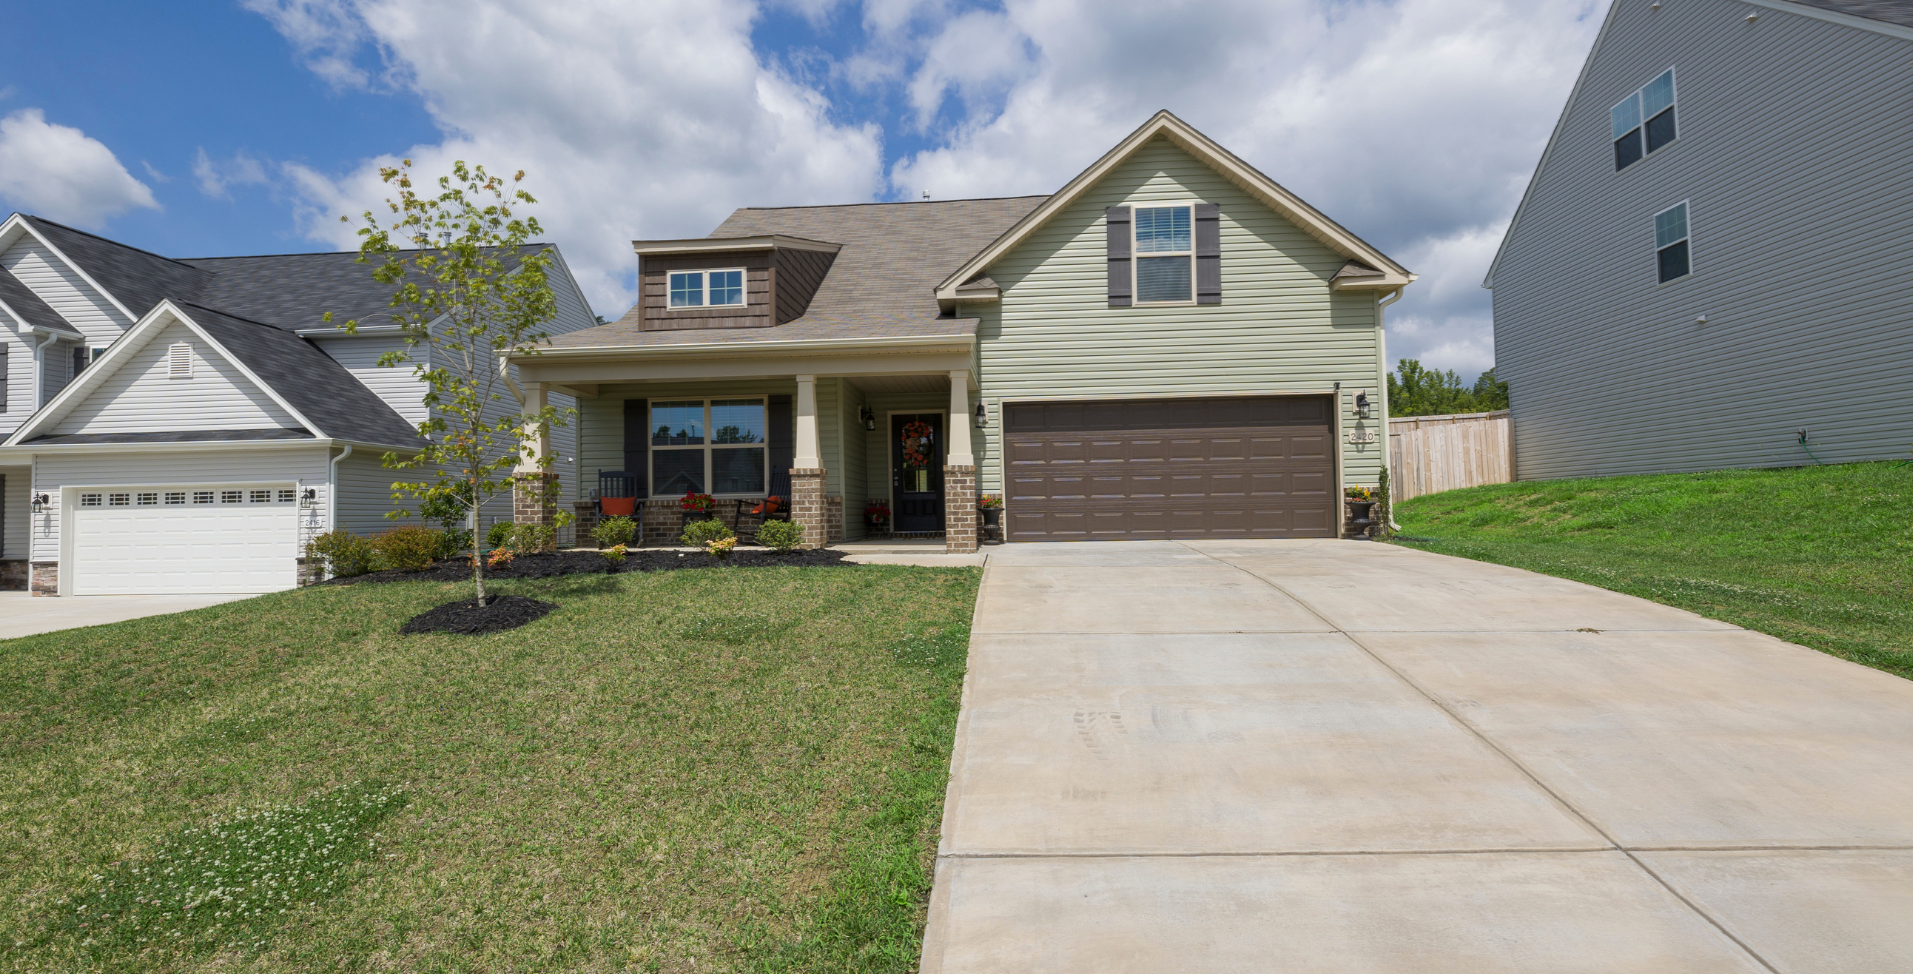
Safe and open driveway before roof replacement in the DMV
A little prep can make your installation day go more smoothly. Here’s how you can help before the crew arrives:
Move vehicles, patio furniture, and potted plants away from the house.
Cover attic belongings with plastic sheets (some dust may fall through).
Keep pets and kids indoors for safety.
Notify neighbors about the project (it might get loud).
Make sure outdoor power outlets are accessible.
If you work from home, plan for noise during the tear-off phase.
By preparing ahead, you help the crew move efficiently, and your roof gets finished faster.
1. Material Delivery and Prep: Getting Ready for the Big Day
A successful roof installation starts before anyone steps on a ladder. Usually, a day or two before build day, your roofing materials arrive on-site. These include shingles, underlayment, nails, flashing, vents, and other accessories — all stacked neatly in your driveway or a designated area on your roof.
As homeowners, it's best if you clear a space in your driveway ahead of time so the delivery team can unload safely. If you have vehicles in the garage, park them on the street the night before to avoid being blocked in.
On the morning of build day, Da’ Roofers’ crew begins bright and early - usually between 6-7 am (don’t worry, we’ll let you know our ETA the night before). We need as much daylight as possible to finish your roof before nightfall. There’s a lot to do, and we start with preparing the site for work and protecting your home and yard. We’ll put down tarps and boards to protect and cover the landscape and other areas that will be impacted by the day’s work.
2. Tearing Off the Old Roof: Why Proper Removal Matters
Once your home is ready, the next step is to remove your old shingles, underlayment, nails, and damaged flashing. This step can get noisy, but it’s essential. It ensures the new roof sits on a clean, solid foundation.
Some roofing companies cut corners and install new shingles over old ones (a process called reroofing). While it’s faster, it hides damage underneath and shortens your new roof’s lifespan. Da’ Roofers always perform a full tear-off to check for issues like rotten decking or trapped moisture.
3. Installing Roof Decking: The Foundation of a Durable Roof
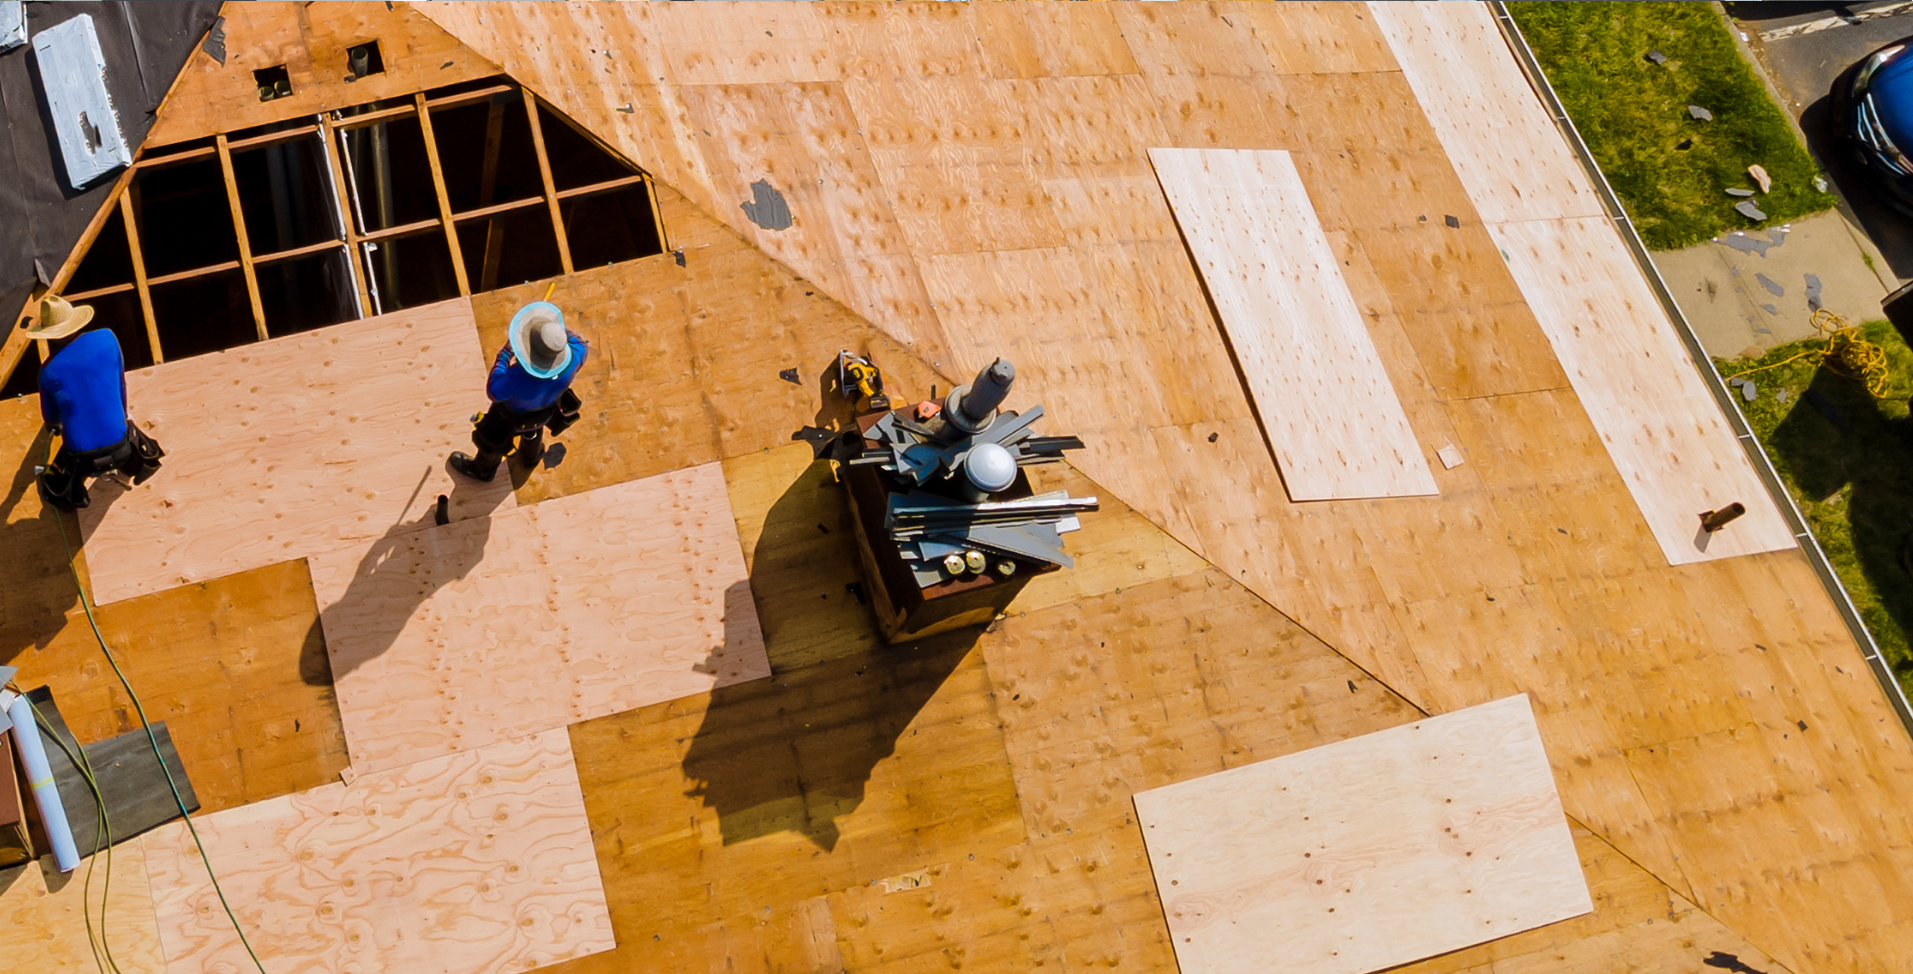
Professional DMV roofers working on roof decking
Once the old roof is gone, the crew inspects your wooden decking, which is the flat surface that supports your entire roof system. For most homes, this decking is made of plywood. But some older homes have plank boards. Now that everything has been torn off, we can see any soft, rotted, or uneven sections of wood, and if needed, repair and replace damaged areas with fresh plywood or planks.
Think of the decking as the foundation of your roof. If it’s weak or uneven, even the best shingles won’t sit or perform properly. That’s why Da’ Roofers take extra time here to make sure it’s 100% solid before moving forward.
4. Waterproofing: Ice & Water Shield
Next comes waterproofing with Ice & Water Shield, a self-sealing membrane that clings tightly to the roof surface.. This added layer protects places where leaks are most likely to start. It’s installed around valleys, eaves, and any other spots on your roof that’s prone to ice dams or heavy rain exposure. This step is especially important in the DMV area, where winter snow and sudden downpours are common.
Da’ Roofers use Certainteed’s Ice and Water Shield, a premier membrane composed of two waterproofing materials—an aggressive rubberized asphalt adhesive backed by a layer of slip-resistant coated high-density cross-laminated polyethylene film
5. Laying the Underlayment: Your Roof’s Hidden Layer of Protection
Roofers in the DMV installing roof underlayment
Underlayment is like your roof’s invisible raincoat. It sits between the decking and shingles, creating a secondary barrier against moisture. Da’ Roofers use a high-quality synthetic underlayment that resists tearing and helps prevent leaks even if shingles are damaged later.
It also helps regulate temperature inside your attic and provides a smooth surface for the shingles to lay flat on (making the finished roof look cleaner and more even).
6. Flashing Installation: Small Details That Stop Big Leaks
Flashing might not be the most noticeable part of your roof, but it’s one of the most important. These thin metal strips are installed around chimneys, valleys, skylights, and vents to direct water away from seams and joints.
Da’ Roofers carefully seal and secure each piece, because even a small gap in flashing can cause leaks later. Attention to these little details is what separates a professional roof build from a sloppy install.
7. Drip Edge: Protecting Roof Edges from Water Damage
After flashing, the team installs the drip edge; a thin metal trim that runs along the eaves and rakes (edges of the roof). It prevents rainwater from seeping under the shingles and damaging the fascia boards.
Besides keeping water out, a drip edge also gives your roof a crisp, finished look. It’s one of those small touches that makes a big difference in long-term durability.
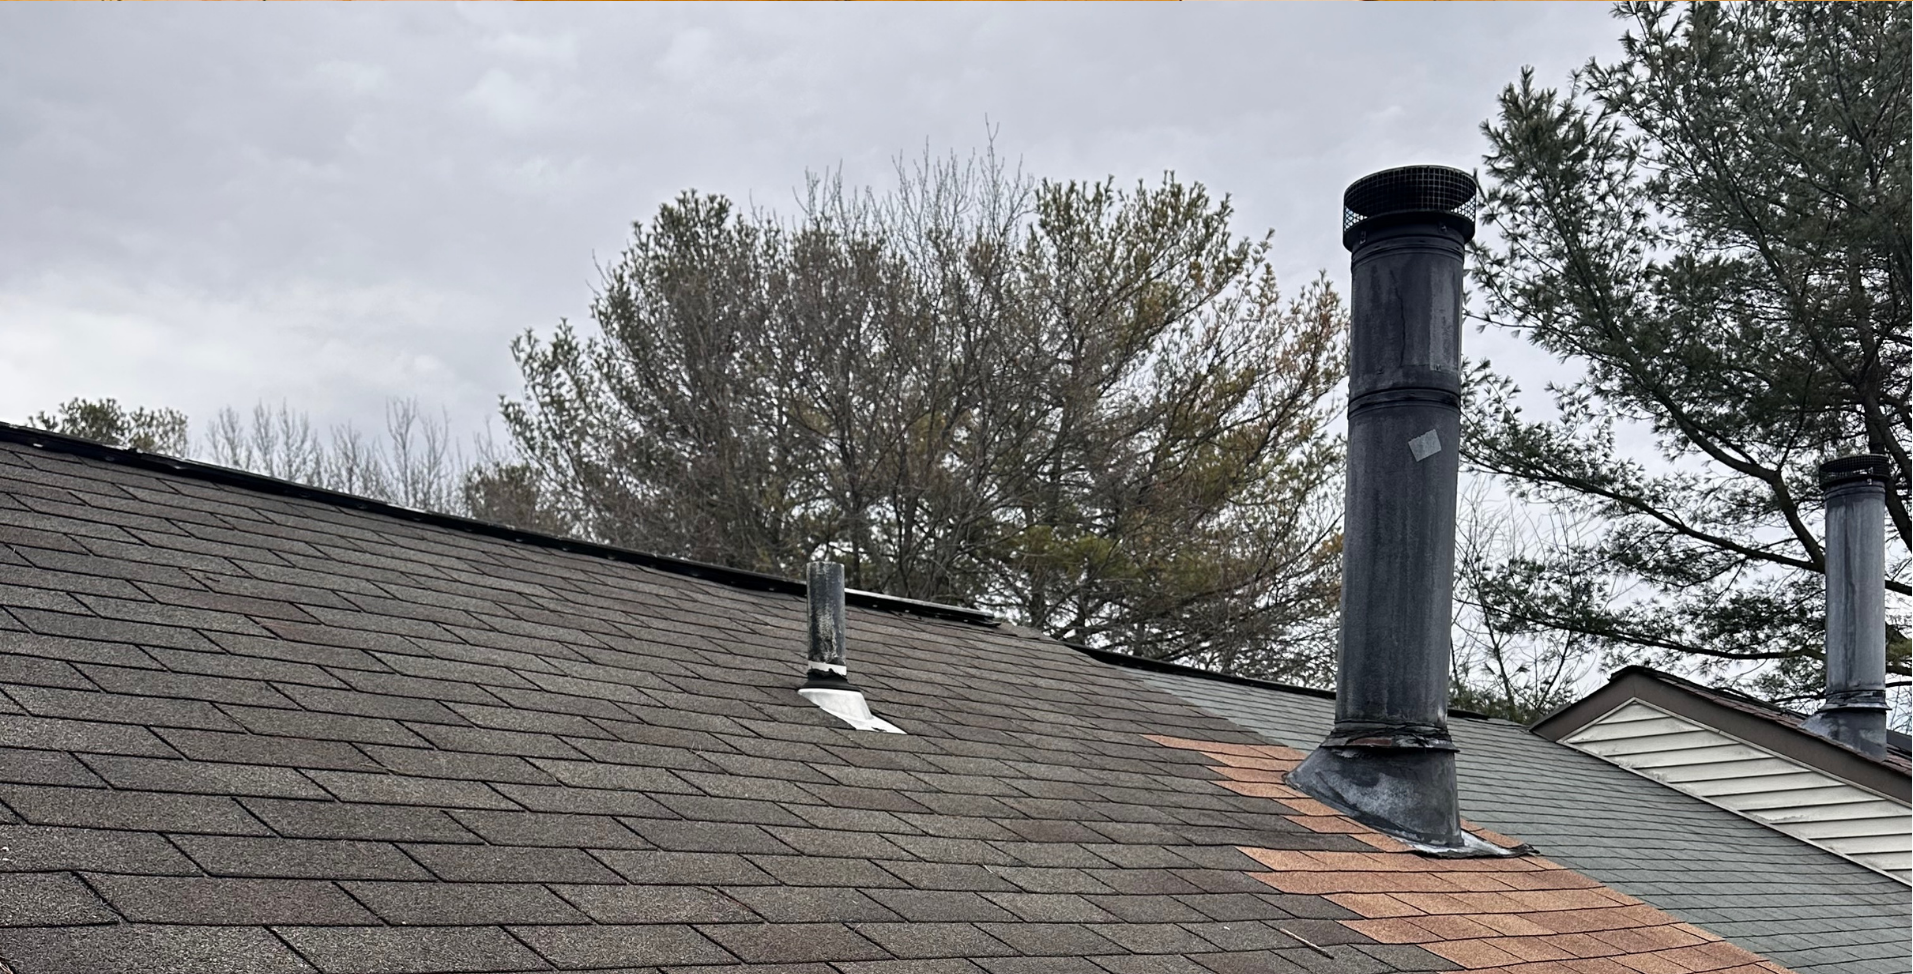
8. Pipe Boots: Sealing Around Roof Penetrations
Roof pipe boot installed on a residential home
Anywhere a pipe or vent pokes through your roof, it needs a waterproof seal. That’s where pipe boots come in. They’re flexible rubber covers that fit snugly around plumbing vents to block out water.
Da’ Roofers use lifetime pipe boots, designed to last as long as your shingles — no cracking or dry rot over time. This small upgrade helps prevent one of the most common sources of roof leaks.
9. Starter Shingles: The Base Layer for a Perfect Finish
Before the main shingles go down, the crew installs starter shingles along the edges of your roof line. These help anchor the first row of shingles and prevent wind uplift. Without them, even a light storm could peel the edges of your roof over time.
Starter shingles also help the finished roof look straight and aligned from the ground. That's a detail homeowners often notice and appreciate.
10. Installing Shingles the Right Way: Technique and Timing
Now comes the most visible part — installing your new shingles. Da’ Roofers work row by row carefully, following precise alignment lines to keep everything straight. Each shingle is nailed according to manufacturer specs for proper seal and wind resistance.
Because Da’ Roofers use CertainTeed’s Integrity Roof System, every shingle, sealant, and ventilation component is engineered to work together as a complete system. This ensures maximum performance and qualifies your roof for CertainTeed’s top-tier warranty coverage.
11. Hip and Ridge Shingles: The Finishing Touch
Once the field shingles are down, it’s time for the hip and ridge shingles. These are specially shaped shingles that cover the peaks and corners. They not only make the roof look finished but also add extra protection to high-stress areas where wind and water meet.
The team installs them with a clean, even line for a sharp and professional finish that complements your home’s look.
12. Ridge Vent and Roof Ventilation: Keeping Your Attic Cool and Dry
Proper ventilation is key to preventing heat buildup and moisture damage inside your attic. Da’ Roofers install ridge vents along the top of your roof to let hot air escape, while soffit vents allow cooler air to enter from below.
This balanced airflow helps your roof last longer, prevents mold and ice dams, and improves your home’s overall energy efficiency.
13. Final Roof Inspection and Cleanup: The Last Step Homeowners Often Overlook
Once installation is complete, Da’ Roofers don’t just pack up and leave. Our crew performs a final roof inspection, checking every detail — from shingle alignment and flashing to sealants and ventilation.
After that, we handle a thorough cleanup of your property: Magnetic sweepers pick up stray nails, tarps are removed, and debris is hauled away. The goal is for you to walk outside and see your new roof, not a mess.
14. The 4-STAR Warranty: Your Long-Term Peace of Mind
Da’ Roofers stand behind their work with Certainteed’s 4-STAR Warranty, giving homeowners peace of mind long after installation day. It covers materials, workmanship, and includes strong protection against common roof issues.
Because your roof was installed using CertainTeed’s Integrity Roof System, you’re also backed by manufacturer support. That means, combining trusted materials with expert local installation.
Final Thoughts

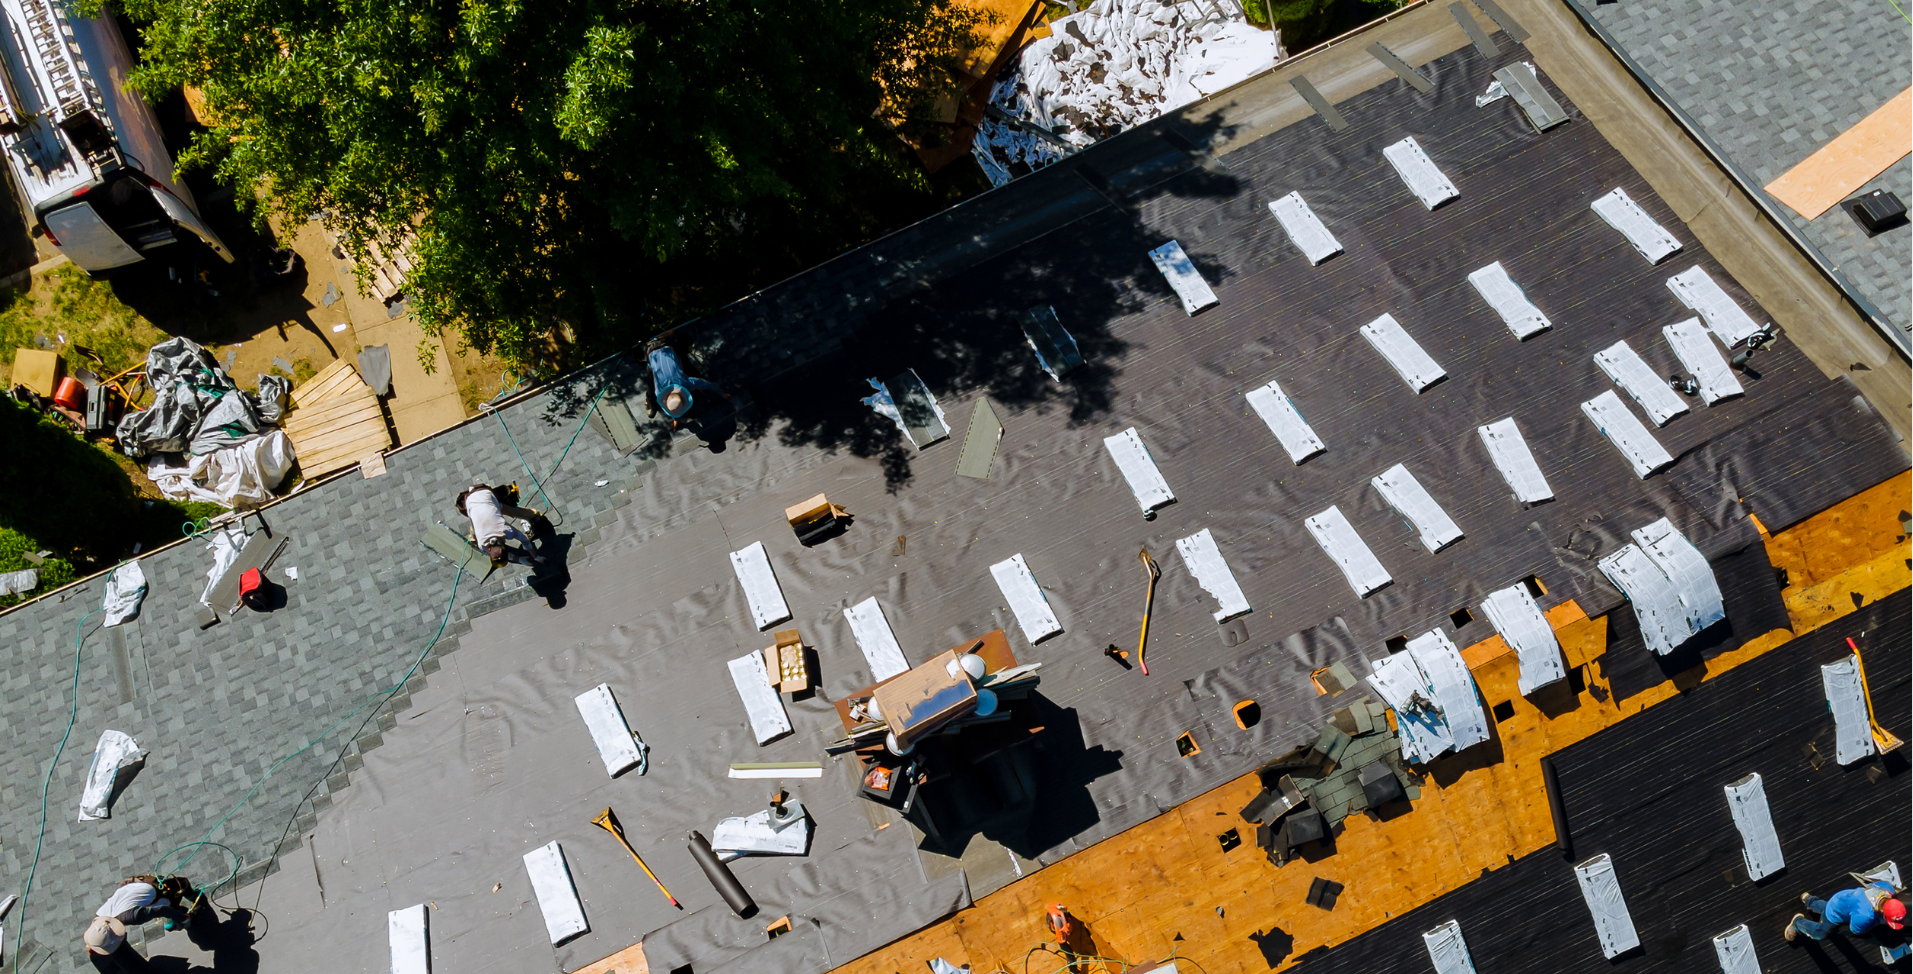
Ongoing roofing project in the DMV
Roof install day can seem intimidating, but when you know what to expect, it’s actually pretty exciting. You’ll hear some hammering, see a flurry of activity, and by the end of the day your home will have a brand-new roof built to last decades.
With Da’ Roofers, every step follows a proven process, backed by trusted materials and professional craftsmanship. From tear-off to final inspection, you can rest easy knowing your home is protected, your yard will be spotless, and your new roof will look incredible.
Frequently Asked Questions
1. How long does a roof installation take?
Most residential roofs are completed in one day. Larger homes or those with complex designs may take two days, but Da’ Roofers always plan to minimize disruption.
2. Do I need to be home during the installation?
Not necessarily. Many homeowners step out for the day to avoid the noise, but it’s helpful to be reachable by phone in case the crew needs to confirm something.
3. What happens if it rains on build day?
If rain is expected, Da’ Roofers will reschedule to ensure your home stays dry. If unexpected rain hits mid-project, we’ll secure tarps immediately to protect exposed areas.
4. Can I walk around the house while they’re working?
For safety, it’s best to stay indoors or away from the work zone until cleanup is done. Roofing debris can fall unexpectedly.
5. When will I get my warranty paperwork?
Warranty documentation is provided after final inspection and approval, along with photos and details of your completed installation. The process usually takes 3-4 weeks to get documentation from the manufacturer.